
Sauerkraut is an easy way to add probiotics and nutrition to your everyday diet.
Best part is, is that fermenting is an easy culinary skill.
It will quickly become a staple in your kitchen, especially if you utilize the ease fermentation lids and kits give you.
You can take full control of the ingredients by doing it yourself and you only need a few tools and two ingredients to make beautiful sauerkraut.
Here I go into cabbage seeds to grow, tools you need, ingredients, and step by step instructions to make a basic fermented sauerkraut.
Lets Dive In…
Basic Sauerkraut Recipe | Fermented
Cabbage seeds to grow
There are a few cabbage varieties out there that are specifically known to make good, crispy sauerkraut.
Although, I will say any cabbage will do fine in sauerkraut if you are in a pinch, but if you are curious on making the most out of your skillset look for these seeds to try:
- Red Drumhead
- Glory of Enkuizen
- Futog
- Amager
- Typhoon
- Kaitlin
All of these varieties are known to produce wonderful sauerkraut due to their tenderness and higher water content.
Ingredients for Sauerkraut
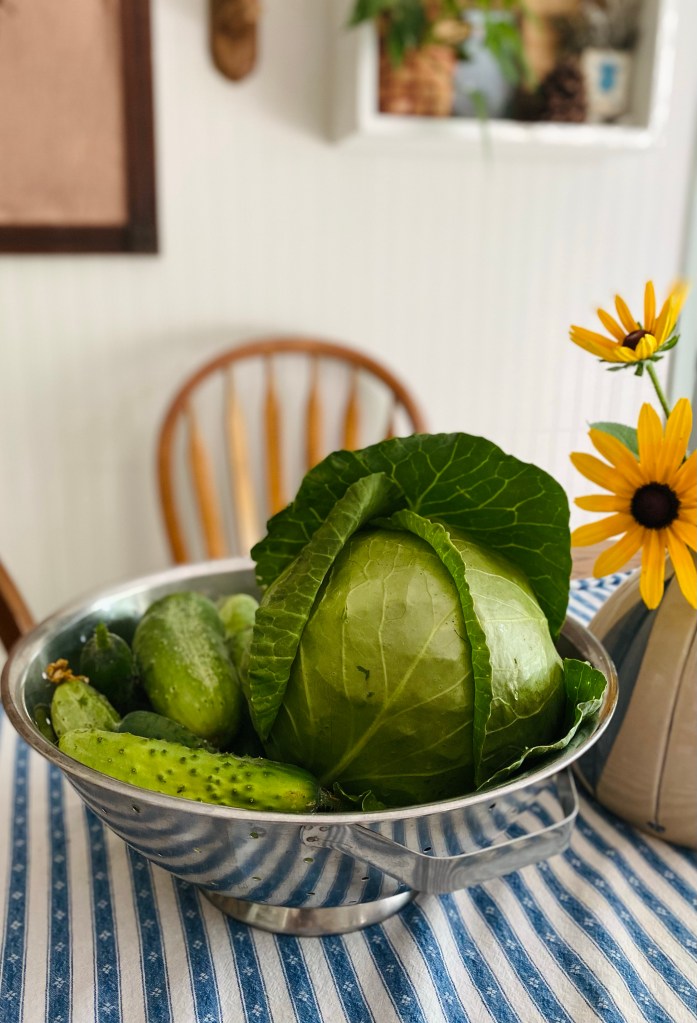
- 1 head Crisp, fresh cabbage, organic preferred
- 1 heaping tablespoon Good salt, like Celtic seas salt or pink salt
Cabbage used for sauerkraut needs to be fresh, crisp, and organic.
It can either be store bought from the farmers market or homegrown, whatever is available to you.
Soft or soggy cabbage will lead to soggy sauerkraut and frankly be unpleasant to eat.
Organic cabbage is preferred to avoid hidden pesticides that may affect fermenting.
You are going to need to get some good salt to ferment with.
Loaded with beneficial microorganisms, fermented foods need quality ingredients such as good salt that still has nutrients left in it.
Table salt is processed to the point that it’s dead salt and this will greatly affect the fermenting process in a negative way.

Tools you need
- Glass Jars or Fermenting Crocks
- Fermenting lids and weights
- Fermenting hammer
- Cutting knife, board
- Large Bowl
You are going to need a fermenting lid to allow air to escape but not come in.
You can use a normal mason jar top but you must remember to ‘burp’ the jar everyday.
Fermenting lids really make it hands off and are worth the investment.
You will also need a fermenting weight to keep the cabbage below the juices. These often come with the fermenting lids.
You should only ever ferment anything in glass or ceramic jars.
Not only can you keep a close eye on the ferment, but you can also avoid any leaching of product that a plastic or metal container could do.
Glass is a very neutral vessel for the active fermenting process to occur, making it the best choice.
Step by step instructions for Basic Sauerkraut | Fermenting
- Clean you cabbage and pull back any wilted layers of needed.
- Cut your cabbage off the core and into small bite size pieces.
- In a big bowl, place the cut cabbage and add one heaping tablespoon of salt per head of cabbage used. If cabbage heads are extra-large, double the salt.
- Mix well and let sit for 1 hour to allow the cabbage to wilt and start sweating.
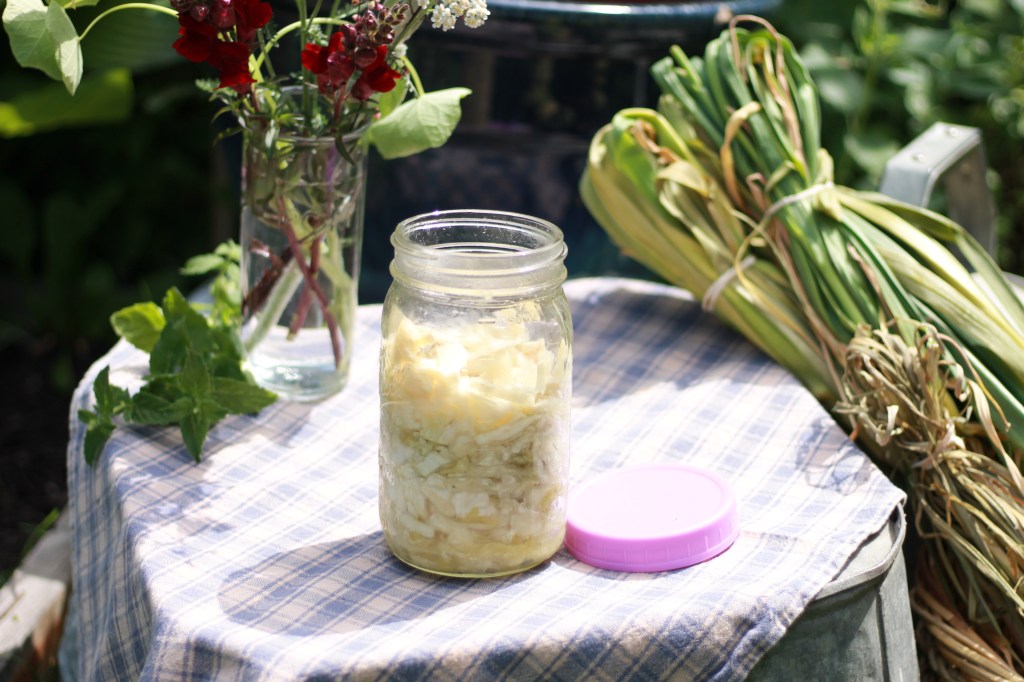
- After that, take a clean glass jar and place the cabbage and its juices into the jar using your hand and fermenting hammer to push down to tightly pack the jar.
- Leave one inch at the top of the jar and pour remaining juice into the jar until cabbage is just covered.
- Place your fermenting weight and matching fermenting lid on the jar making sure there’s at least a half inch of free space from the top.
- Tip: if no extra juice is present, don’t fret. More juice will be created throughout the process of fermenting or allow cabbage to sit in the bowl longer.
- Place somewhere at room temperature and Allow to sit there for about a week, or more depending on how sour you want your sauerkraut.
- When finished fermenting on the counter, take out weight and replace fermenting lid with a regular mason jar lid.
- Refrigerate and enjoy.
Troubleshooting
Be sure to watch for mold. If mold occurs that means, there was not enough salt to the mix. I would start over if this was me.
Overflowing of juice is normal. Simply put a small bowl under the jar to catch the juices. You can pour excess off when you’re ready to refrigerate.
Do not take the lid off until you’re ready to taste test, and then be sure to used clean hands and clean utensils when taste testing.
You should start to see bubbles by day three. That’s means the fermentation process is going well.
That’s It!
You never have to buy sauerkraut from the store again with this easy culinary skill in hand.
Remember good cabbage, good salt, and a glass jar will give you the best results.
My favorite way to add sauerkraut to my diet is with breakfast or on the side of a heavy dinner such as a roast.
Enjoy!
-Chelsea, The Cottage Vegetable
- Seed Starting Set Up | Minimal, Organized, Indoors
- Reputable Canning Resources
- Garden Planning Tips
- Spiced Cranberry Sauce | Water bath canning
- Creamy Chicken & Potato Soup | Canned Chicken Recipe
The Cottage Vegetable website is an AI FREE zone! Everything is written and photographed by myself, Chelsea.

The Cottage Vegetable
Gardening & Preserving for a Practical Kitchen
Use coupon code COTTAGEVEG10 for 10% off your purchase site wide at OLLE GARDENS
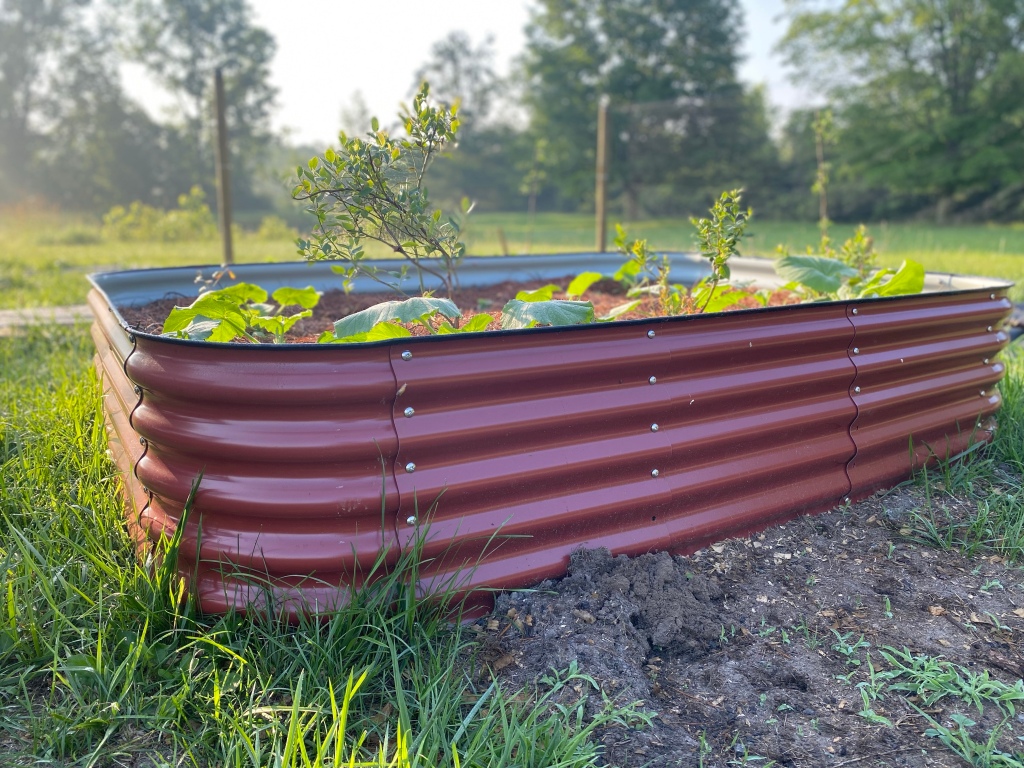
12-IN 1 Metal Raised bed in Barn Red, featured in my own personal garden


Pingback: Charcuterie Lunch Boards: Simplify lunchtime and appease picky eaters | The Cottage Vegetable
Pingback: 5 Foods I Don’t Buy at the Grocery Store because of my Garden | The Cottage Vegetable
Pingback: Shelf Stable Homemade Broth; Pressure Canning Broth on a Presto Canner | The Cottage Vegetable
Pingback: Pickled Peppers; Easy Water Bath Canning to try | The Cottage Vegetable
Pingback: Blueberry Jam | Using Frozen Berries & Pectin | The Cottage Vegetable
Pingback: Harvest & Store Homegrown Cabbage | The Cottage Vegetable