
Starting seeds early can make sure some vegetables or flowers have enough time to grow and mature to produce valuable harvests.
You also have a wider range of variety when choosing seeds for your gardens, rather than buying plant starts at the store.
Here I go into seed starting basics so you can grow a practical garden, including tools you need and how to do it.
Let’s Dive In…
Seed Starting Basics | Growing a Practical Garden
There are three basic rules to seed starting inside
- Knowing when to start
- Having the right tools
- Setting up the seeds correctly
When to start
Seeds will depend on your climate or garden zone.
Because this is different for everyone, seeds often make statements like this:
“Start early indoors 6-8 weeks before your last frost”
“Transplant 2-3 weeks after your last frost”
The key point to knowing when to start is to know when your last spring frost is.
This is easy when you look at what zone you are (linked here) because each zone with have general dates given of last and first frosts.
Here is an example: Last frost date in zone 6A is about May 15th. 8 weeks before this would be March 20th (2023).
Anything that needs eight weeks indoors I will start the week of March 20th.
All seed packets should explain when it is appropriate to start indoors or if it needs to be transplanted a few weeks after the last spring frost.
Tools you Need
- A rack or table
- Seed Starting Trays
- Heat Mat
- Seed Starting Soil
- Grow Lights
Rack or Table
You can either use a simple table like a card table or purchase shelving units.
The point of this is to have a safe, secure, and sturdy place to have the seeds sit on that is preferably out of the way.
Since many gardeners start a lot of seeds, you will often see metal shelving units used for seed starting.
Seed Starting Trays
These are the trays that have several boxes in them to place your dirt in.
There are a wide variety of seed starting trays depending what brand you purchase. All will do fine.
Some are compatible with ‘peat pellets’ which are dehydrated pucks of seed starting soil that you soak in water.
Others will hold loose dirt. Which one you use will be to your personal preference.
Heat Mat
This is an important tool to have because vegetables, like tomatoes and peppers, need warm soil to germinate and grow.
A heat mat will plug in and sit right under your seed starting tray.
You need one heat mat per seed starting tray.
Seed Starting Soil
You can use seed starting soil or regular garden soil for seed starting.
Seed starting soil tends to be lighter and finer than regular garden soil, making it the preferred medium to use.
Grow Lights
This is probably the most expensive portion of getting set up.
If you are new, starting small will be best because you can experiment and see what you prefer to use.
You can use grow light lamps, grow light strips, or the commonly seen grow lights that hang on racks.
Please note that they all work!
I should also mention if you have large south facing window, seeds can be placed in front of it to supplement lighting.

Setting up the seed correctly
- Set up your table or racks, heat mats and lights.
- Take your seed starting tray and fill it up with dirt or rehydrate the peat pellets.
- Water your dirt well, packing it in slightly.
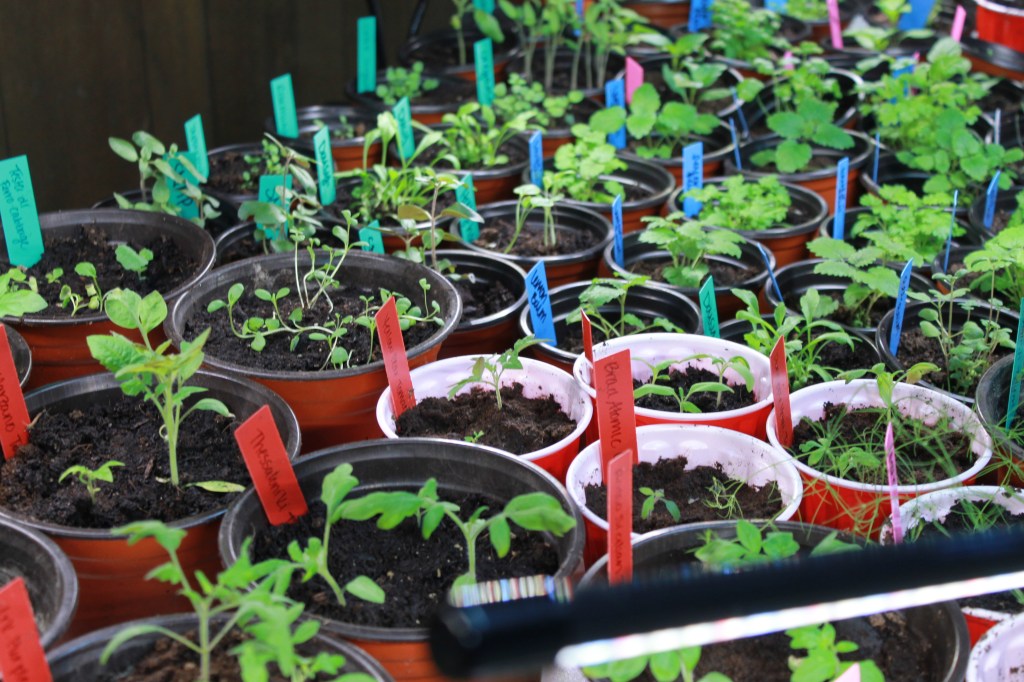
- Then open your packet of seeds and place 2-3 seeds per box in the seed starting tray per the instructions on the seed packet*.
- Be sure to label.
- Place under lights, make sure the heat mats are on, and allow to sit undisturbed.
- Be sure to check watering needs daily. If the top of the soil is dry, it’s time to water.
- Sprouts should form within the first two weeks.
*Make sure you read the seed packet carefully.
Some seeds need to stay on top of the dirt to germinate while others need to be placed about a quarter inch in.
You will see phrases like “barely cover as they need light to germinate”.
Simply follow the instructions on the seed packets.
That’s It!
Starting a garden from seed is a very realistic way to accomplish your garden goals.
Once you learn how to seed start, the skill becomes incredibly easy and attainable and it’s something you can carry on every year in your gardens.
Enjoy!
- Seed Starting Set Up | Minimal, Organized, Indoors
- Reputable Canning Resources
- Garden Planning Tips
- Spiced Cranberry Sauce | Water bath canning
- Creamy Chicken & Potato Soup | Canned Chicken Recipe

Happy Gardening!
-Chelsea, The Cottage Vegetable
The Cottage Vegetable
Gardening & Preserving for a Practical Kitchen
Use coupon code COTTAGEVEG10 for 10% off your purchase site wide at OLLE GARDENS
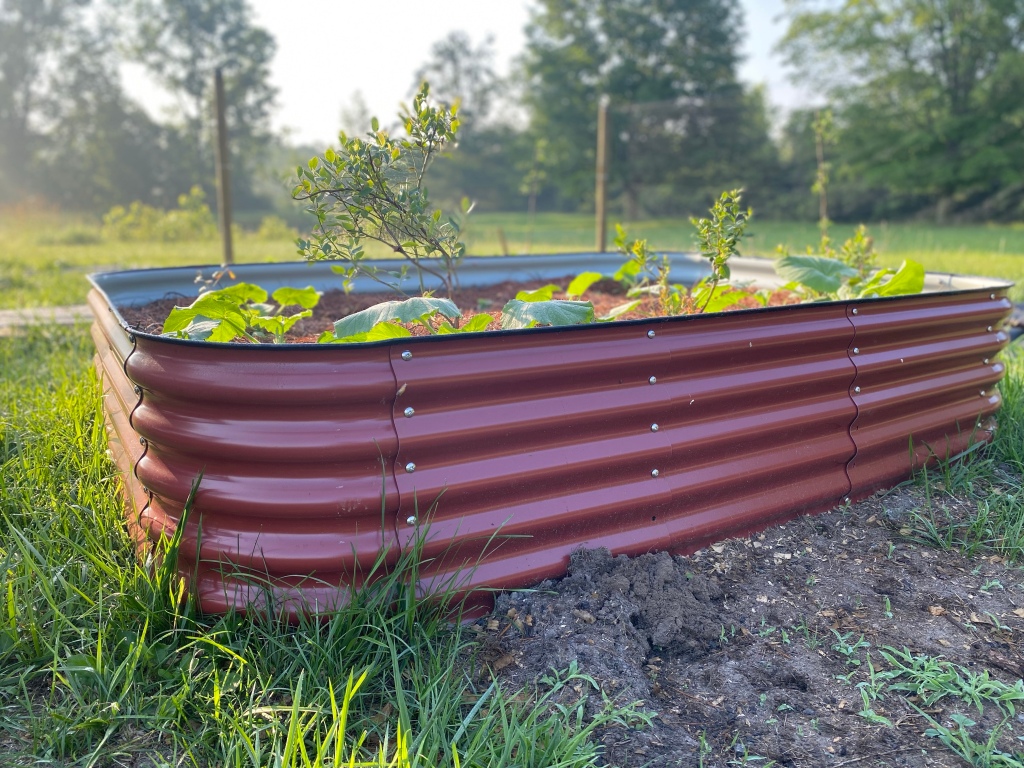
12-IN 1 Metal Raised bed in Barn Red, featured in my own personal garden


Pingback: Fast Growing Vegetables: Cool Season Vegetables for Northern Gardens | The Cottage Vegetable
Pingback: 2023 Garden Varieties for a DIVERSE garden | The Cottage Vegetable
Pingback: Seed Organizing with Recycled Envelopes (tutorial) | The Cottage Vegetable