
Broth is one of the best staple foods any home cook can have on hand.
To have a pantry full of good broth you can navigate any recipe in any season, even if there is little abundance to be found.
Here I go into tools you need, ingredients, and step by step instructions to pressure can homemade broth.
Let’s Dive In…
Pressure Canning Broth Recipe
Home canned broth can last up to 2 years in your pantry and is a fairly simple pressure canning method.
This recipe post is tailored to the act of pressure canning broth, assuming you have made the broth itself already.
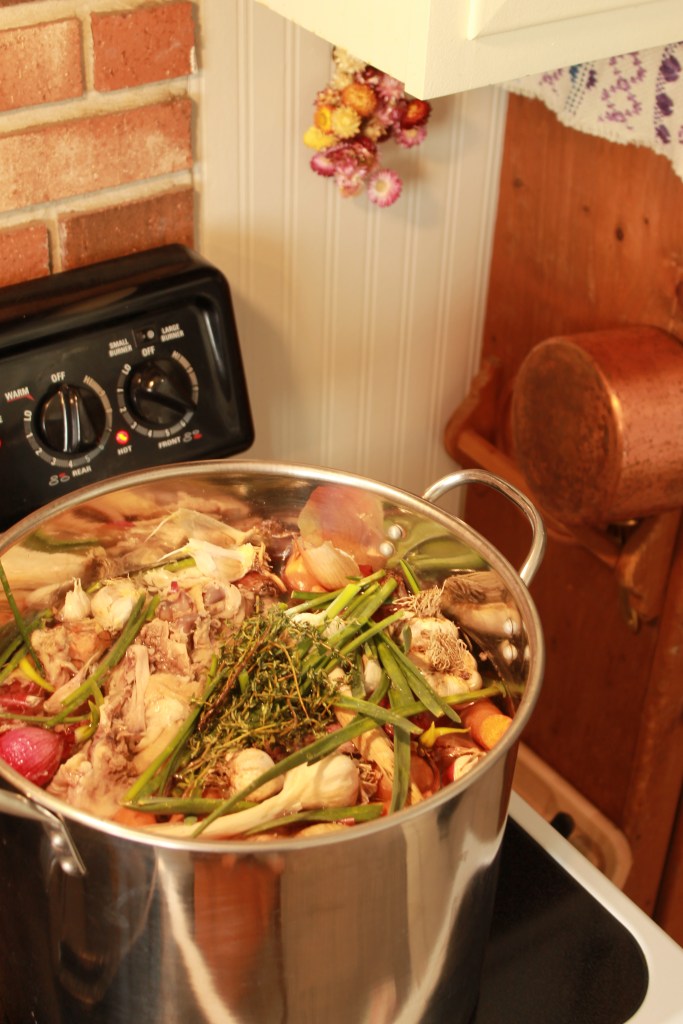
You can find my basic broth recipe here. It’s easy, it’s delicious, and it’s a recipe you can just make on a weekly basis if you wish.
Tools you Need
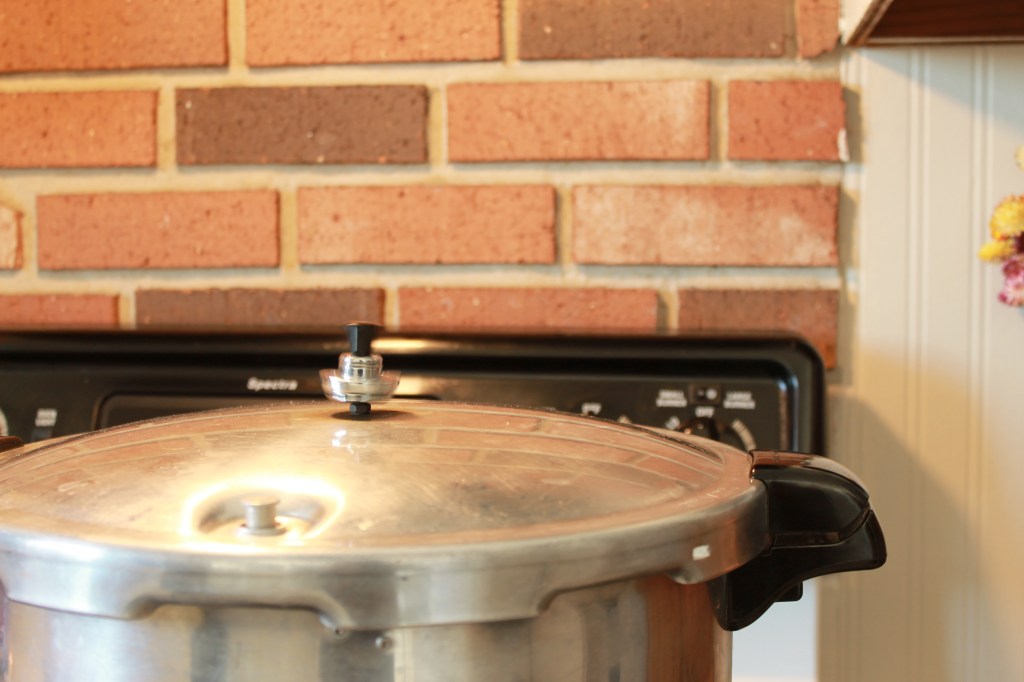
- Pressure Canner (I use a Presto Canner)
- Quart mason jar, lids, bands
- Jar lifter, funnel, ladle
- Stock pot to heat up the broth.
Ingredients
- Homemade broth: about 2 gallons of broth will fill 8-quart jars.
One quart jar equals one storebought box of broth.
A pint jar holds about 2 cups of broth with quart jars holding about 4 cups (estimated).

Instructions:
After you make your broth, you then strain the solids out and move onto processing it through the canner.
Remember to follow instructions to your pressure canner.
- Make broth (discussed above)
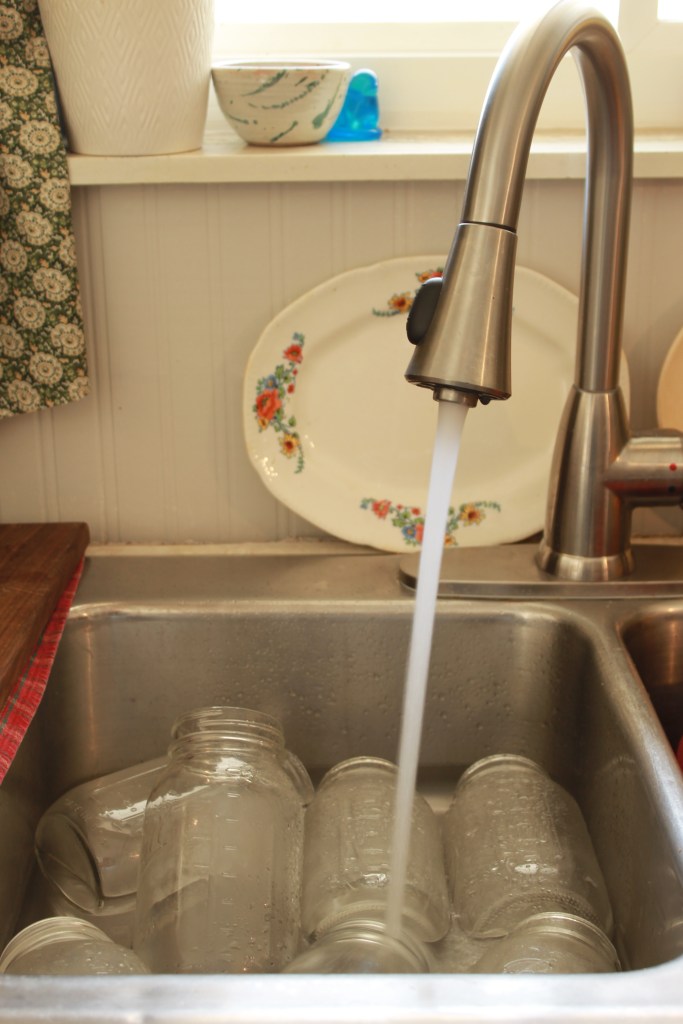
- When broth is finished, soak mason jars in your sink in hot vinegar water.
- Fill your pressure canner up with water to the indicated level for pressure canning.
- Place your canner on high heat to started heating up the water.
- Heat your broth up to a low simmer.
- Once pressure canner is hot, and broth is very warm, take jars out of hot water from the sink and place them on a tea towel.
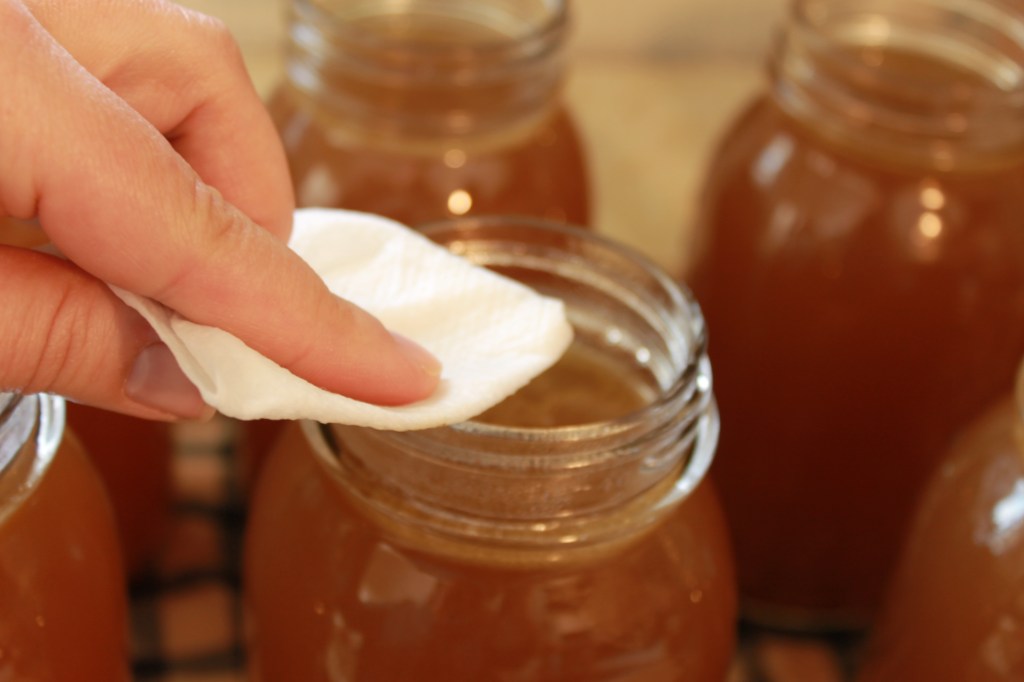
- Pour hot broth into hot jars using funnel and a ladle, leaving 1 inch headspace.
- When jars are full of broth, wipe rims with vinegar.
- Place lid and band finger tight on each jar.
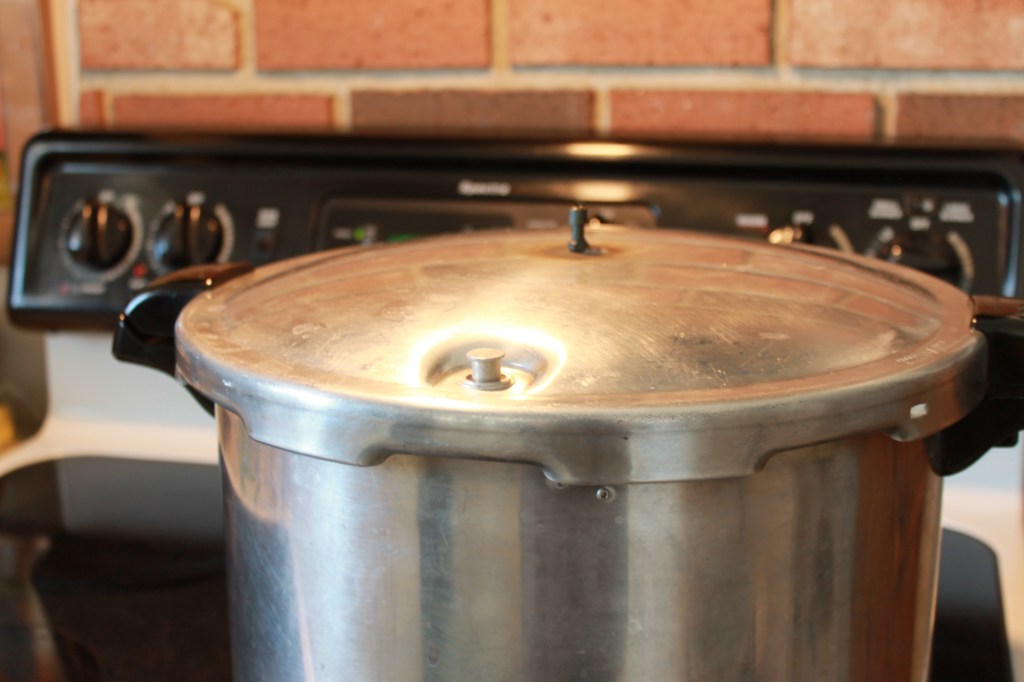
- Carefully load the hot canner using your jar lifter.
- Place your lid on: You will have to follow the instruction booklet to your specific pressure canner to make sure the lid is properly set up.
- Vent steam for 10 minutes.
- Pressure can 10 pounds pressure for PINTS: 20 mins, QUARTS: 25 mins (adjusting for altitude)
- After your 20-25 mins, turn the stove heat off. DO NOT touch the canner at this point. You can carefully slide the canner off the heat but leave the weight and lid on.
- Let canner cool and slowly release its pressure without touching it. About 30-45 mins.
- When the pressure gasket level drops, carefully lift weight to make sure no steam escapes.
- Carefully take lid off (still very hot).
- Using jar lifter take jars out and place onto dry tea towel on the countertop.
- Allow to cool for 24 hours. You should hear the pops within the first 30 mins.
- Next day, take off bands and check your seal by lifting the jar up by the lid.
- Then wash your jars in lukewarm water and store in cupboard.


That’s It!
Broth is by far the easiest recipe to get started with pressure canning.
If a jar doesn’t seal, you can easily store it in your fridge.
My basic broth recipe is here: How to make broth
Enjoy!
-Chelsea, The Cottage Vegetable
- Seed Starting Set Up | Minimal, Organized, Indoors
- Reputable Canning Resources
- Garden Planning Tips
- Spiced Cranberry Sauce | Water bath canning
- Creamy Chicken & Potato Soup | Canned Chicken Recipe
The Cottage Vegetable website is an AI FREE zone! Everything is written and photographed by myself, Chelsea.
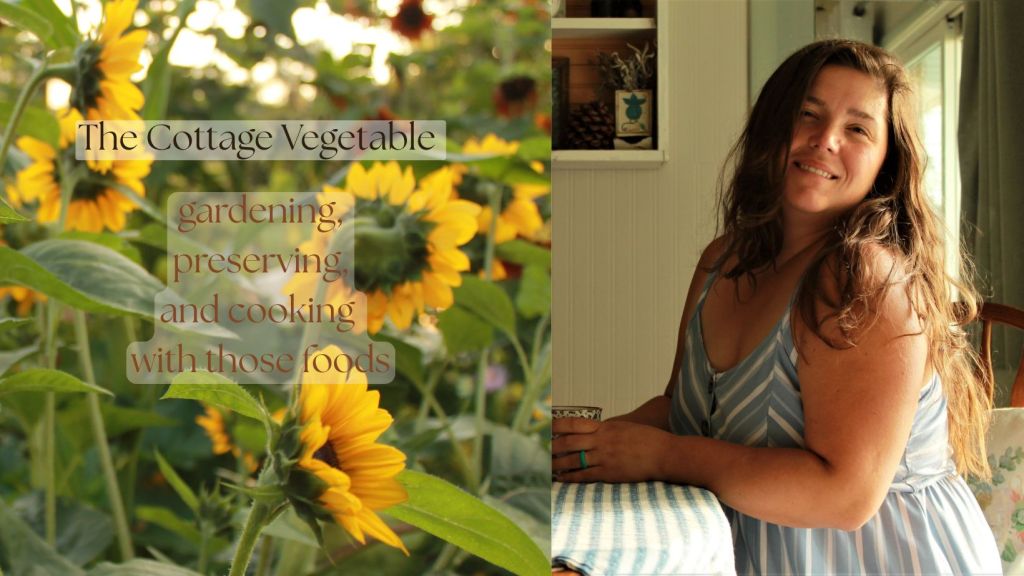
The Cottage Vegetable
Gardening & Preserving for a Practical Kitchen
Use coupon code COTTAGEVEG10 for 10% off your purchase site wide at OLLE GARDENS
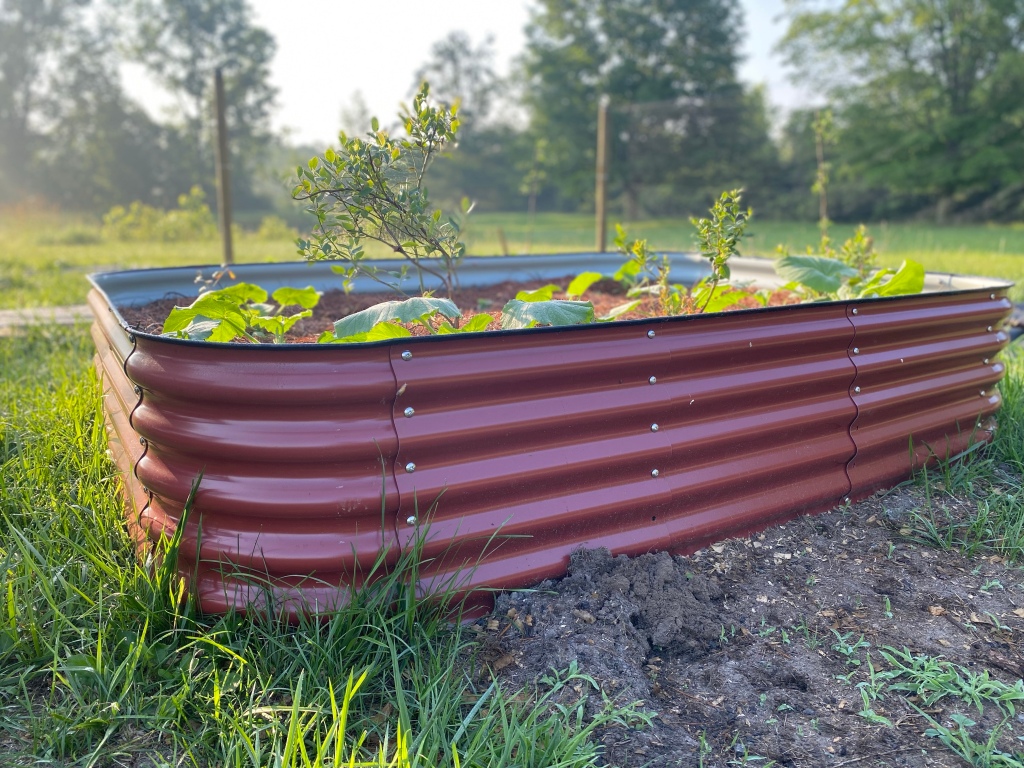
12-IN 1 Metal Raised bed in Barn Red, featured in my own personal garden


Pingback: Pickled Peppers; Easy Water Bath Canning to try | The Cottage Vegetable
Pingback: Blueberry Jam | Using Frozen Berries & Pectin | The Cottage Vegetable
Pingback: How to make Broth | Easy Culinary Skill | Pantry Meals | The Cottage Vegetable