A steam juicer is a worthwhile investment piece to your food preserving repertoire.
It makes juicing an almost hands off experience and is incredibly handy when you find yourself with several pounds of any fruit to use right away.
This recipe post is geared towards using that handy steam juicer to make your juice, spicing it to make cider (optional), and then water bath canning the extra cider for a later time.
Here I break it down into two sections: Making the Apple cider and then Canning the Apple Cider, with all the tools, ingredients, and instructions you need.
Let’s Dive In…
Making Apple Cider with the Steam Juicer
A steam juicer makes juice making fun and easy to make and is one of the key elements to this recipe. The one I use is linked, but feel free to explore the options.
Tools you need:
- 11 Qt Steam Juicer: The one I use is here
- Gallon Mason Jar
- A stool
- A second, large stock pot
- Large filter, coffee filters, or cheese clothes (a large sieve for flour works well)
Ingredients:
- 20 pounds Apples
- Sugar, to taste
- Spices, to taste
Any apples will do but be where some will have more juice in them than others.
I would aim for 20 pounds to reach a least a gallon of juice.
Of course, you may get more or less depending on your apples.
Sugar and spices will have to be to taste, since the flavor of your apples will affect final product.

Instructions for plain Apple Juice:
- Wash fruit well. Rough cut all the apples, picking out any rotten spots.
- Load fruit into the colander portion of the juicer; you can leave stems and seeds on.
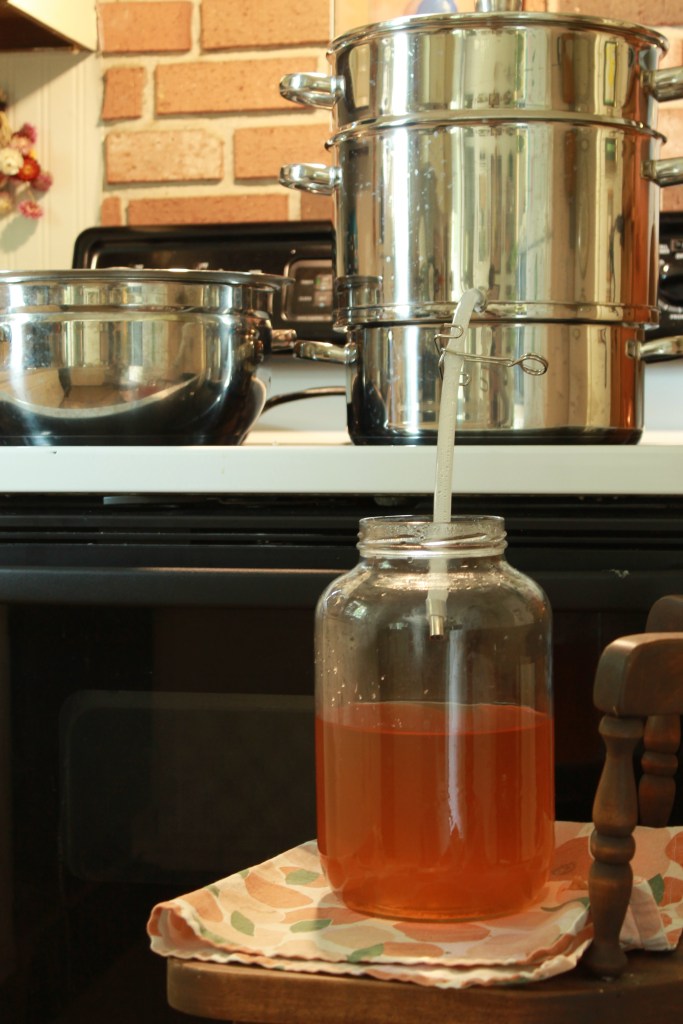
- Assemble the steam juicer: fill bottom pot with water to the very top of the pot, then place the juice collector with the tube attached, then place the colander full of fruit on top of that and lastly place the lid.
- Place you stove on high heat.
- Juice making can take a few hours to complete depending on how much fruit you have but grab your stool and your gallon jar and place them next to the stove, so the juice tube sits comfortably in the jar.
- Once you notice juice is flowing, you can prop the clamp open if you wish so all the juice flows into the gallon jar.
- Once the gallon jar is 3/4 full, tighten the clamp and place the filter of your choice over the stock pot.
- Pour the juice into the extra stock pot, letting it get filtered through your filter of choice (a large sieve for flour works well)
- Place the gallon jar back under the tube, unclamp to collect the rest of the juice.
- Towards the end, you can stir the mash around to make sure you get all the juice (but once it’s all mash, there’s not much juice left so don’t spend too much time doing this).
- Once, the juice slows or stops, tighten the clamp, place the coloander of fruit mash in the sink.
- You will notice there’s a little bit more juice left behind in the juice collector pot. Pour that into your gallon jar and then pour that into your extra stock pot.
- Your juice is made!
Instructions for turning Juice into Cider:
At this point all your juice should be in your extra stock pot and should have gone through the first filtering.
- Place your juice on medium heat and slowly add sugar to your liking (sometimes several cups are needed).
- Also add whatever spices you wish: 2-3 sticks of cinnamon soaking while it’s heating up usually does well. A dash of nutmeg does well too. All spices are to taste.
- Let this simmer for about 30 mintues to allow sugar to dissolve and cinnamon sticks to expell their flavor. Stirring often.
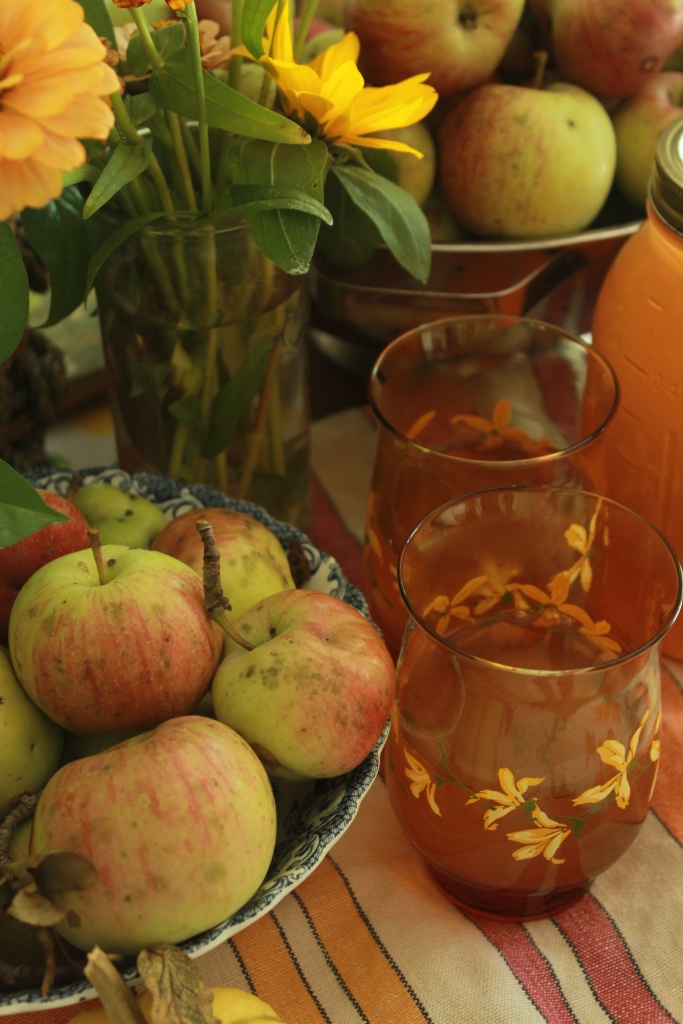
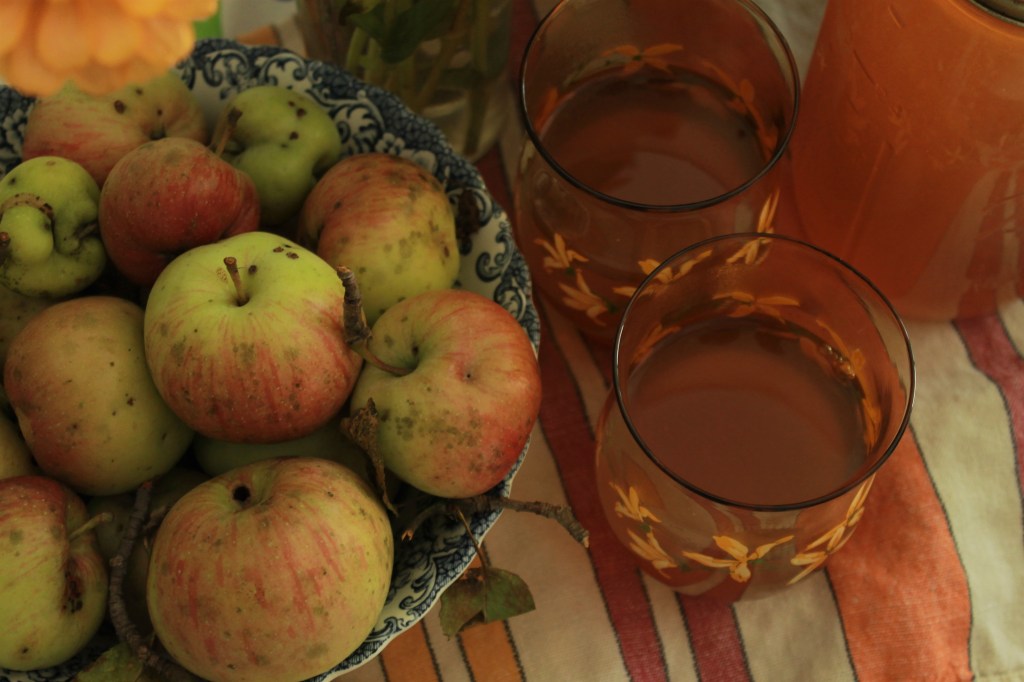
- Serve warm, or move onto the next part of canning discussed below.
All spices are to taste! (some apples are naturally cider-like so spices will have to be a case-to-case basis)

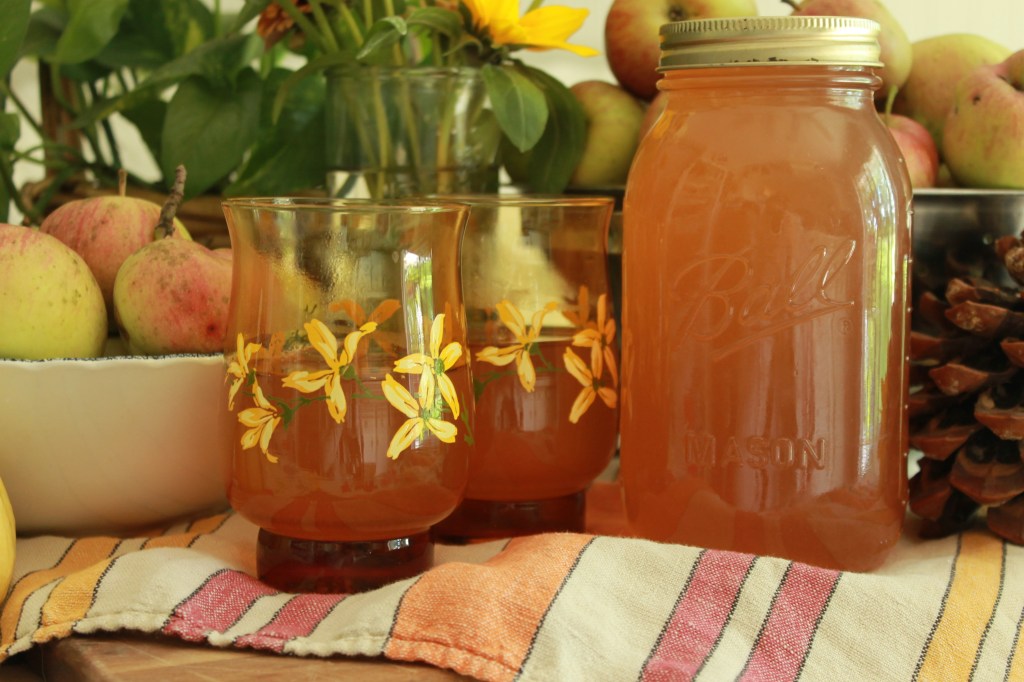
Water Bath Canning Apple Cider
After the juice is made it’s time to can the extra (if there is any).
It’s a basic water bath canning method as follows:
Tools you need:
- Quart sized mason jars
- Funnel, ladle, tea towel
- Water bath canner
- Small sieve, coffee filter, or cheese cloth
Instructions:
- Make juice (instructions above). You can process it diluted, or undiluted.
- Fill your water bath canner with water, place on the stove to heat up. Also, place your jars in hot vinegar water in the sink.
- Bring your juice up to 190 degrees F.
- Once juice is hot, and the water bath canner is hot, pull your jars out to get them ready to be fill.
- Be sure to set up your small sieve, coffee filters, or cheese clothes over your funnels for a final filtering.
- With your ladle, filter, and funnel, fill your jars of hot juice using a 1/4-inch headspace.
- Wipe Rims, Place Bands, Lids on finger tight.
- Using a jar lifter, load your water bath canner.
- Following the water bath canner instructions: Water bath can quarts for 10 minutes.
- Allow to cool per water bath canner instructions, placing jars on a dry tea towel afterwards.
- Allow to cool 24 hours before checking seals.
- Wash in lukewarm soapy water before putting up on shelves.
- Enjoy!


That’s It!
Refrigerate any apple cider that is not canned or has been opened.
Once you open a can of apple cider, you can serve it cold or warm; simply reheat in a saucepot over the stove. You can even add a few slices of fresh apples while it’s heating up.
Again, a steam juicer is a very handy tool for food preservation.
Enjoy!
Be sure to sign up below for email notifications of new posts.
-Chelsea, The Cottage Vegetable
- Seed Starting Set Up | Minimal, Organized, Indoors
- Reputable Canning Resources
- Garden Planning Tips
- Spiced Cranberry Sauce | Water bath canning
- Creamy Chicken & Potato Soup | Canned Chicken Recipe
The Cottage Vegetable website is an AI FREE zone! Everything is written and photographed by myself, Chelsea.

The Cottage Vegetable
Gardening & Preserving for a Practical Kitchen
Use coupon code COTTAGEVEG10 for 10% off your purchase site wide at OLLE GARDENS
12-IN 1 Metal Raised bed in Barn Red, featured in my own personal garden

