
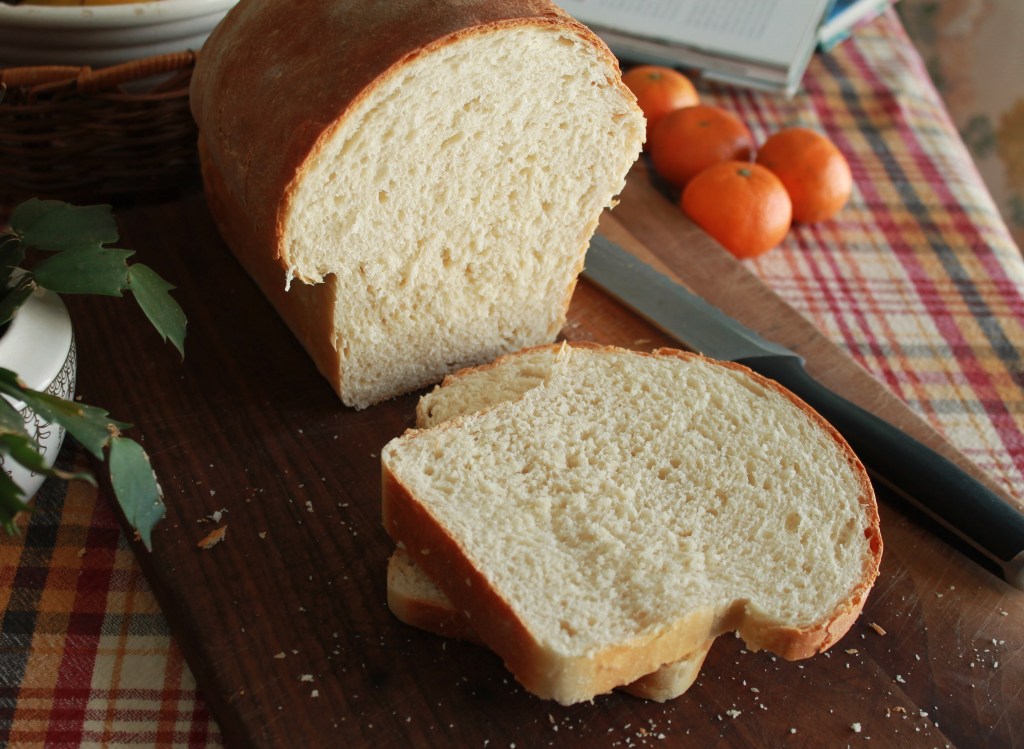
If you can make a cake, you can make bread.
And this bread recipe is not only doable for anyone but stays soft and fresh for more than one day (when stored correctly) without any need of preservatives or dough conditioners.
Here I go into tools you need, ingredients and step by step instructions on how to make this White Sandwich Bread at home.
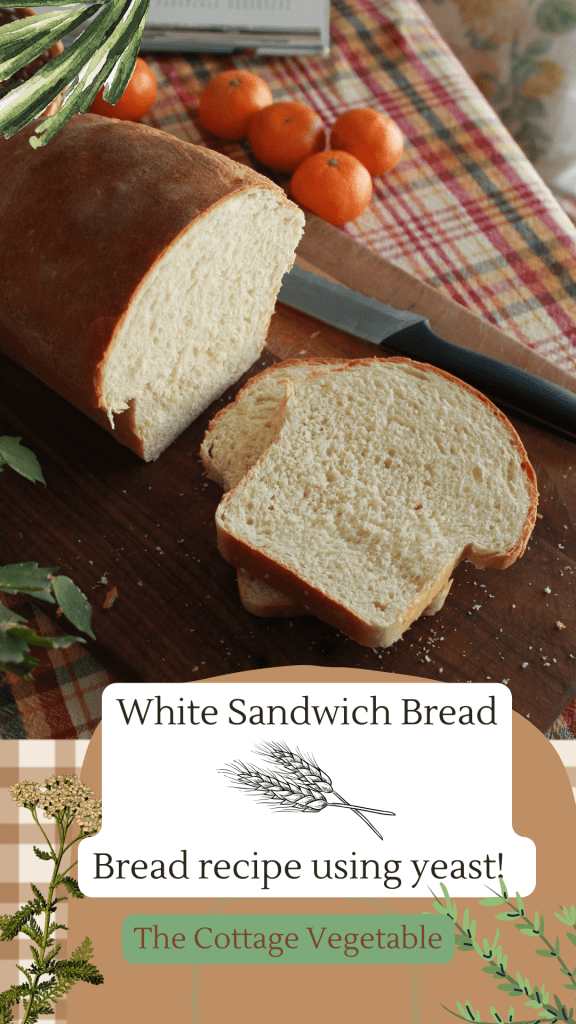
White Sandwich Bread Recipe using Yeast
This recipe from the early 1970s stands the test of time; only, to be re-written to adapt to a modern stand mixer and fast acting yeast.
Tools you Need
- Small saucepan
- Stand Mixer with Dough Hook
- Parchment paper (optional, but recommended)
- Two 9×5 (standard) bread pans or One 12×4 (long) bread pan
Ingredients
- 1 pack or 2.5 teaspoons of fast acting yeast
- 2 cups of milk
- 2 tablespoons white sugar
- 1 tablespoon butter
- 2 teaspoons salt
- 5-6 cups of all purpose or bread flour
Instructions
Makes 2 loaves or 1 large loaf.
- Check yeast: in a small bowl, mix yeast and a dash of warm water; stir well. If you see bubbles and froth your yeast is good, if not try another packet.
- In a small saucepan, combine milk, sugar, butter, salt. Heat up on low until just warm and butter is just melted. Be careful not to make it hot.
- Add warmed ingredients to the stand mixer bowl.
- Add yeast slurry to the mixing bowl, stir well.
- Add flour, stirring on low: add 1/2 cup at a time so your mixer doesn’t spray flour everywhere. You are looking for a sticky dough that is climbing the dough hook.
- Allow to rest and double in size for about 30 minutes to 1 hour. You can do this right in the mixer bowl with a cover on it.
- After that hour, place dough on a well-floured surface. Shape into a ball, deflating as you go.
- If using two bread pans, go ahead and cut the dough in half. If using one large loaf pan, skip this step.
- Next, spread the dough into rectangles that are the length of the bread pan and roll into a log. Tuck in ends.
- Place parchment paper in the bread pans, (makes for super easy release later) place rolled dough on top of the that.
- Allow to rise for 30 -45 minutes or so, until the bread has risen to the top of the bread pan. Preheat your oven to 375 degrees during this time.
- Bake your bread at 375 degrees for 35-45 minutes. Crust should be golden brown and should have a hallow tapping sound. Watch carefully since everyone’s oven behaves slightly differently (you don’t want a burnt crust).
- Allow to cool on a rack completely before cutting.
Store in a plastic bread bag (or a plastic grocery bag) to keep it soft for days.
That’s It!
For best results, be sure to use good yeast and don’t skip the warming portion of the instructions.
The warm ingredients help keep the yeast moving fast and cuts down on time spent making this!
This bread stores very well in the freezer, if you are wanting to bulk bake for a week or more and want to make sure it stays fresh for a long time.
Enjoy!
-Chelsea, The Cottage Vegetable
- Seed Starting Set Up | Minimal, Organized, Indoors
- Reputable Canning Resources
- Garden Planning Tips
- Spiced Cranberry Sauce | Water bath canning
- Creamy Chicken & Potato Soup | Canned Chicken Recipe
The Cottage Vegetable website is an AI FREE zone! Everything is written and photographed by myself, Chelsea.

The Cottage Vegetable
Gardening & Preserving for a Practical Kitchen


Use coupon code COTTAGEVEG10 for 10% off your purchase site wide at OLLE GARDENS
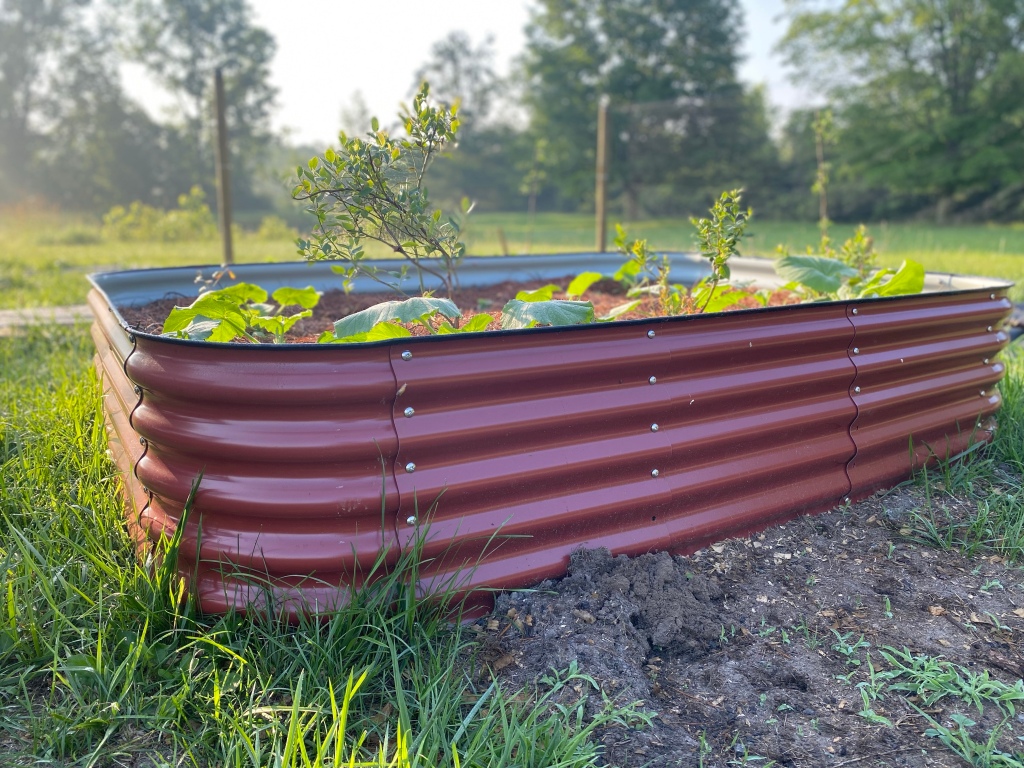
12-IN 1 Metal Raised bed in Barn Red, featured in my own personal garden

