
This soup starter is a great way to get some butternut squash, carrots, onions, celery sliced & diced, and ready to go for cooking.
Processed in broth, these vegetables can be used in soups, pastas sauces, or even left as a vegetable side dish, and are full of flavor!
Here I go into tools you need, ingredients, and instructions to get this Soup Starter up on your shelf at home.
- Butternut Squash Soup Starter Recipe
- How to Prepare this Soup Starter
- FAQs
- That’s It!
- Visit The Cottage Vegetable Shop
Butternut Squash Soup Starter Recipe
Tools you need
- Pressure Canner
- Small pot to boil broth in
- Large, mixing bowl
Ingredients
Makes 8 pints
- 4 pounds of butternut squash, peeled, de-seeded, diced (about 2 whole butternut squashes)
- 1/2 pound of carrots, peeled, chopped
- 3 large celery stalks, diced
- 1 medium onion diced
- 1/2 gallon broth (2 storebought boxes)
- 1/2 teaspoon salt per pint jar
Instructions
Raw pack method
- Set up your pressure canner, and place on medium high heat. Allow to warm up while you assemble jars. Also, wash jars in hot vinegar water, set aside.
- Pour broth into your stock pot allow to come up to a simmer, while you cut your vegetables.
- Peel, de-seed butternut squash, and cut into 1 inch dices, being careful to not hurt yourself.
- Dice carrots, celery, onion, in 1/2-inch to 1-inch pieces. Place all your vegetables in the large mixing bowl.
- Gently toss and mix all the vegetables together. You can alternatively, layer all the vegetables in the jar if you want to.
- Once your broth is to a simmer. Bring your jars out, and fill your jars with vegetables leaving 1-inch space. You can tightly pack these, but make sure the vegetables are below the 1 inch headspace.
- Add 1/2 teaspoon of salt to each jar.
- Pour broth over the vegetables, leaving a final 1-inch headspace.
- De-bubble. Wipe rims. Lid/bands on finger tight.
- Load your pressure canner.
- Following your pressure canner’s instructions for proper use, pressure can these pint jars at 10 pounds pressure for 60 minutes (adjusting for altitude).
- Allow jars to cool on a dry tea towel for 12-24 hours undisturbed.
- Check seals, wash jars, and enjoy!

How to Prepare this Soup Starter
Most common way I use this, is as a tomato soup substitute; served with a hot, crunchy sandwich and I use the finished (see preparing notes below) pureed soup as a dip or side dish to the sandwich.
I have also turned this into pasta sauce: add tomatoes of your choice, herbs, and cheese, blend together well and it can pass for a good squash-based pasta sauce any day of the week.
Preparing notes for Soup:
Preparing this jar of soup is easy and allows you to have a little wiggle room in preparation.
- Pour contents of jar into a small soup pot.
- Place on medium high heat and add any of the following ingredients:
- Heavy Cream or Butter (or both)
- Add seasoning:
- Garlic powder, onion powder, salt, pepper, to taste. You could also add spices like ginger, cinnamon or something spicy like cayenne pepper flakes, if you wish.
- Green herbs, like oregano and thyme, work well too
- Blend. You can use an immersion blender, countertop blender, or use a potato masher.
- Add 2 tablespoons of flour, whisk in well.
- Heat until thoroughly mixed and warmed. Serve with a crunchy toast, or a sandwich. You can also top with crunchy bacon.
There’s lots of wiggle room with this jar of food. Which is perfect because it will give you more chances to use it up!


FAQs
How to safely can butternut squash? Butternut squash cannot be pureed prior to canning. The density of the puree is too thick to make sure all the botulism spores have been killed off. Leaving them in pieces makes sure they are properly sterilized during the canning process.
Growing butternut squash at home? Butternut squash is easy enough to grow at home. It’s a large, vining plant, like a pumpkin, with each plant produces 2-4 squashes each. Plant it in a sunny spot with plenty of compost, keep it watered well. A trellis helps with space. Squash bugs and squash vine borer are the biggest pests, in which there are organic and non-organic ways to prevent them. Harvest squashes once skins don’t pierce with your nail. Allow the skin to harden, and store on your shelf for up to 2 years.
That’s It!
Even with storebought ingredients, this is easy and cheap to do at home.
And since all the vegetables are precooked, it’s very fast to put together when preparing.
If you want to do this in quarts, double the recipe and Pressure can for 1 hour and 20 minutes.
Enjoy!
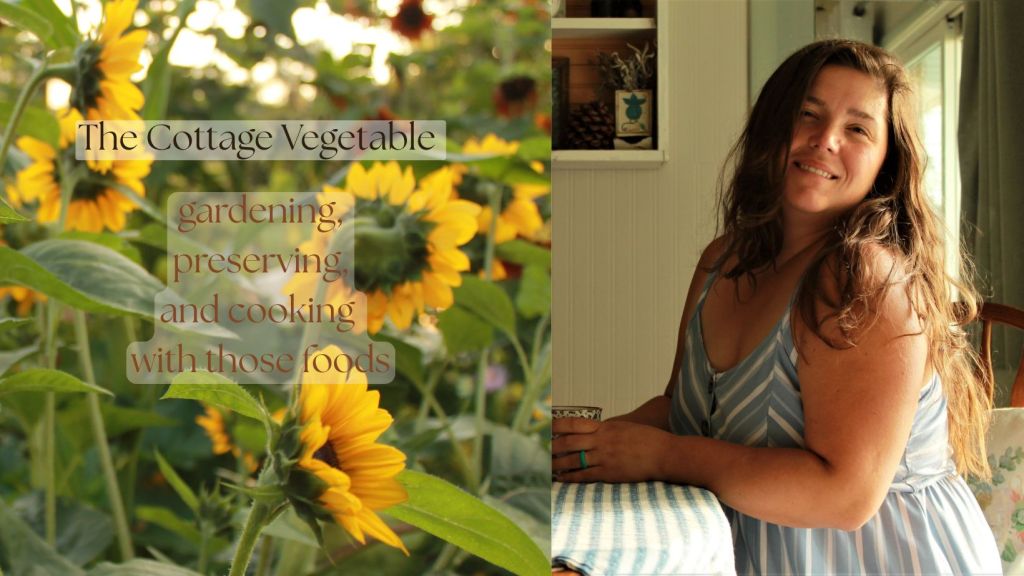
-Chelsea, The Cottage Vegetable
- Seed Starting Set Up | Minimal, Organized, Indoors
- Reputable Canning Resources
- Garden Planning Tips
- Spiced Cranberry Sauce | Water bath canning
- Creamy Chicken & Potato Soup | Canned Chicken Recipe
The Cottage Vegetable website is an AI FREE zone! Everything is written and photographed by myself, Chelsea.

Use coupon code COTTAGEVEG10 for 10% off your purchase site wide at OLLE GARDENS
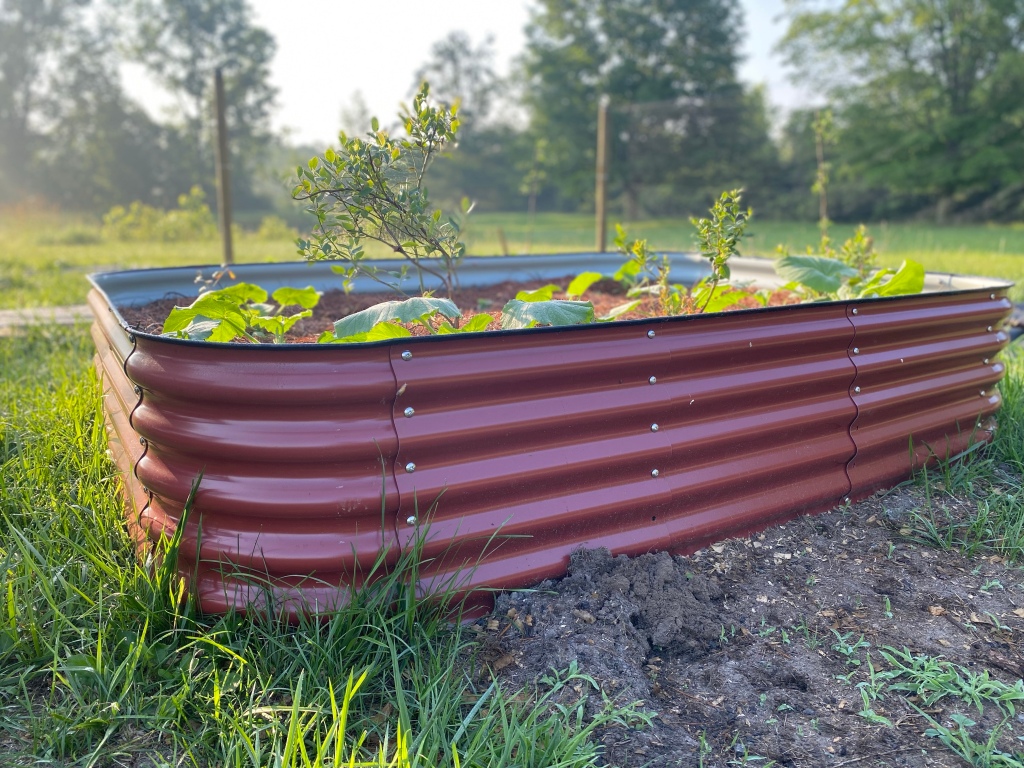
12-IN 1 Metal Raised bed in Barn Red, featured in my own personal garden


Loved this post – –
Stay Blessed – Mel
Free Keto Diet Recipes
LikeLike
Pingback: Butternut Squash Soup Starter | with Carrots, Onions, Celery | Pressure Canning – The Cottage Vegetable | My Meals are on Wheels
This sounds delightful, I can’t wait to try it!
LikeLiked by 1 person
good read
Regard Mel
Over 50 Delicious Keto Recipes – http://www.ketodietrecipes.co.uk
LikeLike