Homemade Apple Vinegar is a month-long ferment that uses a few basic pantry items, and some apple scraps.
No need for any special fermenting tools either! Just some large glass jars and coffee filters is all you need.
Here I go into tools you need, ingredients, and instructions on how to make this Apple Cider Vinegar right at home.
Let’s Dive In…
Apple Cider Vinegar Recipe, from scratch
Tools you need
- Large glass containers, or food safe plastic containers (try to use glass if you can)
- Coffee filters, rubber bands
Ingredients
- Apple scraps (peelings, cores, uneaten pieces), as much as you can make
- Sugar: 1/4 cup per quart of water
- Water, enough to fill the container
- Apple cider vinegar with the mother (store bought is fine), 1/4th cup per gallon of water
Instructions
This is a month-long ferment.
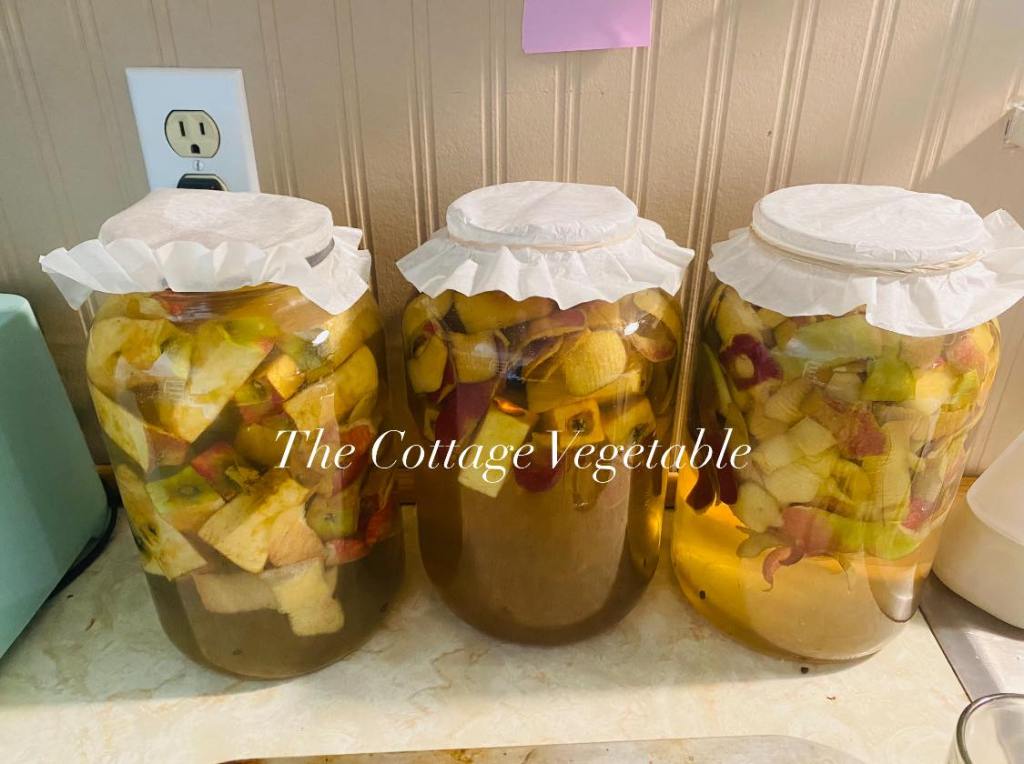
- Make sure your container is clean. Fill your jar halfway with apple scraps. You can use more than one container if you need to; you just need plenty of room to stir.
- Fill with water: make sure to measure how much water you put in. I find it easiest to use a quart jar and keep track that way.
- For every quart of water, add 1/4th cup of sugar to the container. So, if you added a gallon of water to your container, add 1 full cup of sugar.
- Add apple cider vinegar (with the mother!) to give it all a kickstart. Make sure the shake the bottle to make sure pieces of the mother will enter your container. You only need to add a couple glugs, which is usually about 1/4-th cup for a gallon.
- Cover the top with a coffee filter and a rubber band. Coffee filters are the best tool to keep fruit flies out of the vinegar.
- Every day for the first two weeks: stirs once daily. Push the apple scraps that were on top downward and rotate the batch. Make sure to keep up with this! This prevents mold from forming.
- You should start to see bubbles within days. If you have previously fermented foods in your kitchen, you can see bubbles forming in as little as 3 days. Some kitchens make not make bubbles until the end of the first two weeks. That’s okay! It depends on if you frequently ferment foods and if your kitchen is “inoculated” (if I dare say it like that) with good fermenting organisms. The more you ferment (or do sourdough) the quicker foods will ferment in your kitchen.
- The second two weeks: Drain apple scraps from vinegar. Place liquid back into your glass containers. Allow to sit at room temperature, with the coffee filters on the top, for another two weeks. This should allow the mother to start to form. If you want a noticeable mother, allow to ferment for up to 2 months.
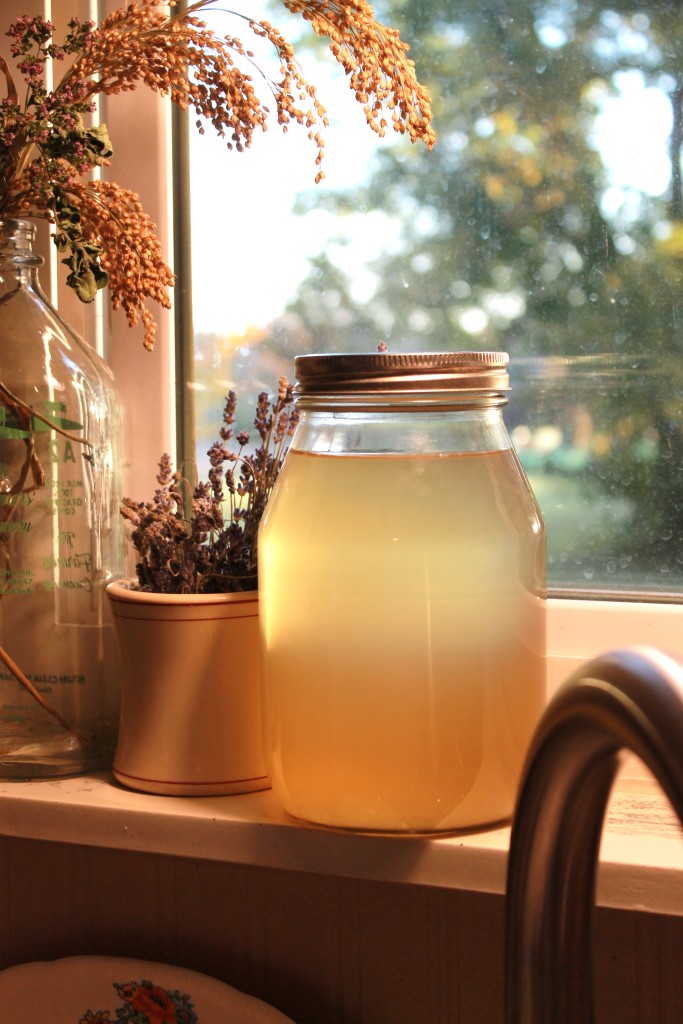
- How to store: Simply bottled up in glass jars with a tight-fitting lid. You can store these at room temperature for up to a year or store them in the refrigerator for up to 18 months. Vinegar does not go bad per say but can over ferment and become displeasing to taste to some (over fermented vinegars can be used as cleaning agents, if you wish).
That’s It!
After preserving a half a bushel of apples, (I just made some applesauce), I was able to make about 2 gallons of vinegar with the scraps and cores.
Plus, this vinegar will last me until next apple harvest season, Lord willing.
Personally, I love to add vinegar to soups and stews to add an acidic balance in flavors.
Enjoy!
-Chelsea, The Cottage Vegetable
- Seed Starting Set Up | Minimal, Organized, Indoors
- Reputable Canning Resources
- Garden Planning Tips
- Spiced Cranberry Sauce | Water bath canning
- Creamy Chicken & Potato Soup | Canned Chicken Recipe
The Cottage Vegetable website is an AI FREE zone! Everything is written and photographed by myself, Chelsea.

The Cottage Vegetable
Gardening & Preserving for a Practical Kitchen

