
These are great!
And after having these for a few years, I feel comfortable enough to give my perspective on why I love these.
Here I go into both pros and cons to using these reusable seed starting trays by Burpee, to help you decide if these are a good fit for your garden.
** Please note: Not sponsored. I have used these for three years (and counting) in my garden seed starting set up, and the following is my personal opinion.
Reusable Seed Starting Tray Review | Pros vs Cons
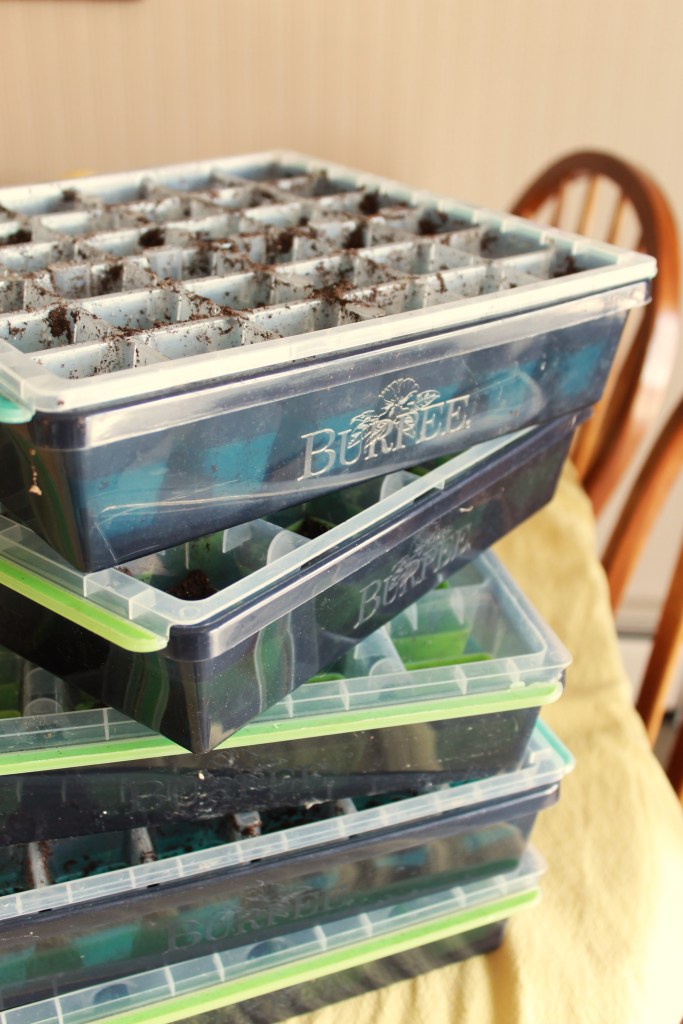
To be specific, I am talking about Burpee’s Super-Seed Pop Out & Reusable Seed Starting Tray. You can find these at most big box stores or online, and they come in three different sizes (only two sizes are shown).
Pros:
- Well-built
- thick, solid plastic with flexible silicone bottoms. After 3 years of using them, there are no cracks, no rips, and no discoloration. The bottom box that holds the water is also in great shape.
- Fits on seed starting heating mats just fine
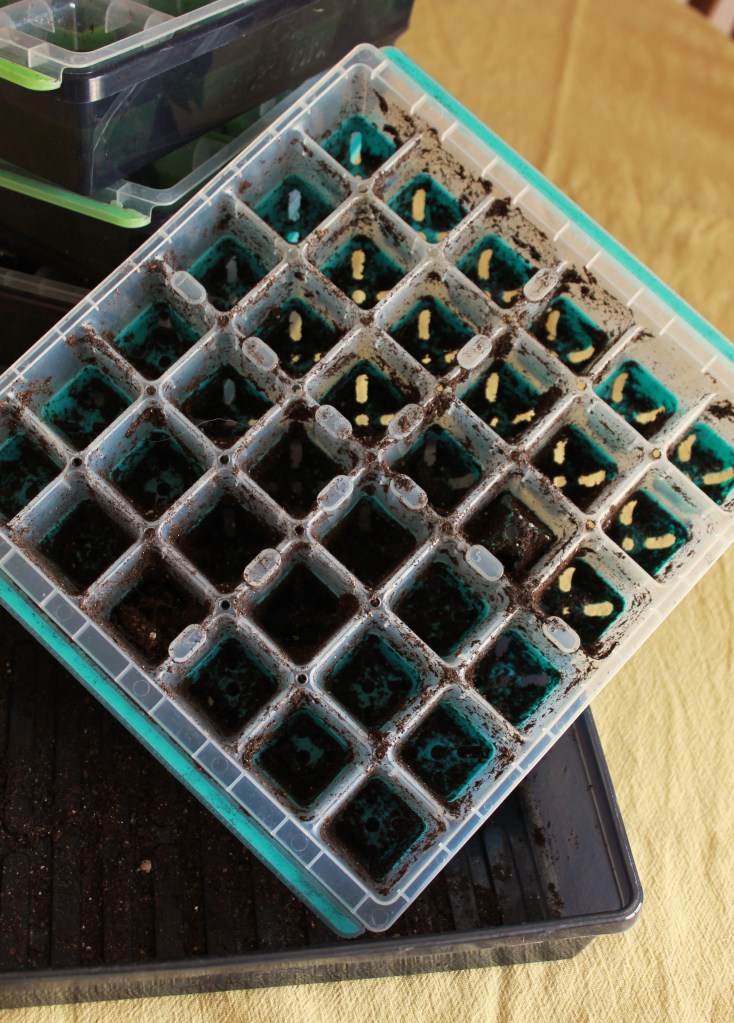
- There are numbers and letters to help with seed identification
- You have the option make a chart to identify your seeds, instead of trying to make several seed markers
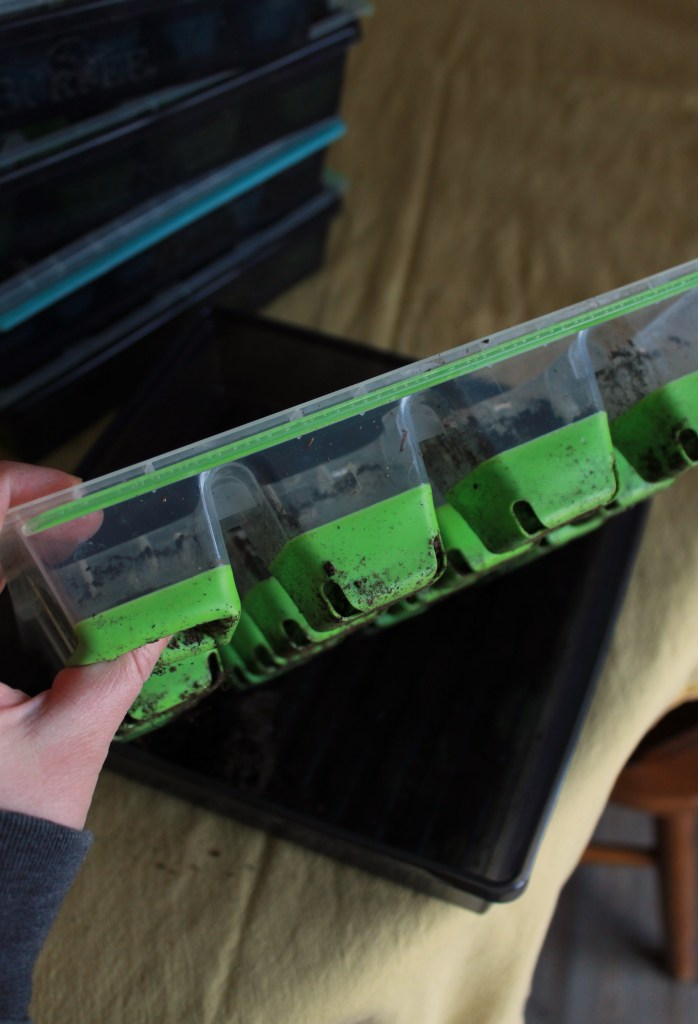
- Easy to handle
- The square trays do not tip out of your hands when full, making them easy to move around even after filling them. The soft silicone on the bottom is easy enough for anyone to push up on (even if you have frail hands).
- Holds plenty of water and it evenly spreads the water throughout the tray.
- These allow you to bottom water the seeds and spreads the water evenly throughout they tray (so long as your table is even)
- Seed starts are easy to transplant
- When your seedlings have outgrown the seed starting tray, they come out as nice little plugs you can easily take out and transplant.
- Affordable
- Prices fluctuate of course, but for the durability of the product I would definitely define these trays as affordable.
- You can get away with just a few trays
- I have 5 trays total that give me 120 chances to start some seeds at one time. That’s just enough to get my 700 square foot garden started, if I use them twice early in the season by using succession growing. If you have smaller garden, you could more than likely use less trays.
Cons:
- No top cover to keep in moisture and heat
- A simple plastic wrap layer on top can do the trick, but these do not come with any sort of dome coverings
- Hard to clean
- You don’t need to ever clean these 100%, but if you are one to want super clean seed starting trays every year, cleaning these are a bit tedious
- The 36 cell tray is quite small for seedlings
- There are three sizes available: 36 cell (the blue one below), 16 cell (the green one below), and an 8 cell (an orange one not pictured). I would go for the 16 or 8 cell, since these give your seedlings more time to get bigger before transplanting, especially for bigger vegetables like tomatoes or pumpkins. However, I still use my 36 cell tray year after year, just fine.
- Bulky storage (kinda)
- These trays are not huge, but they do take up storage space during the off season. I have mine in a tote box with my other seed starting supplies.

Seed Starting with the Reusable Trays
Here’s how I like to use these, step by step:
- Let them soak in a warm water with soap and vinegar in your sink or a tub for a good 15-20 minutes. This will help sanitize them.
- Fill them with dry dirt first. Then pour water into the bottom tray and allow the dirt to soak up water overnight. I also plug my seed warmer mats in the night before too.
- Then plant your seeds! Be sure to write down on a paper which cell has what seed or make some seed markers.
- You can put a sheet of plastic wrap on top to hold heat and moisture in, but I always skip this step. So long as the bottom tray has water and the light lamps are close enough, the seeds sprout just fine.
- Rotate your trays under the lights as needed. Allow a few weeks to a month for the seedlings to outgrow the seed tray.
- Once roots are showing from the bottom of the top tray it’s time to transplant! They can be transplanted straight into the ground if the weather permits or simply bumped them up to a bigger container.
- Allow to dry before storing away.
That’s It!
I personally have no interest in using soil block method, mainly because I do not want to buy three types of dirt to make them and spend hours making soil blocks. I also will never be buying those weak, thin seed starting trays that crack after one season.
Plus, why bother when I can start my 700 square feet garden with just five trays, and some solo cups to up-pot the seed starts to.
These are trays I can bring out year after year and just put them back into my tote box with my heat mats and lights easy peasy.
I know my opinion is quite biased, because I have fallen in love with these, but I honestly want everyone to spend their garden budget wisely! I’d rather you spend your money on quality seed soil and heirloom seeds, then be buying seed trays every year.
I hope this helps you. Enjoy!
P.S. I have no affiliate links for this. You can simply type “Burpee Reusable Seed Tray” into your search engine it will pop right up. You can usually find these in person at Walmart, Target, Home Depot, or other similar big box stores.
-Chelsea, The Cottage Vegetable
- Reputable Canning Resources
- Garden Planning Tips
- Spiced Cranberry Sauce | Water bath canning
- Creamy Chicken & Potato Soup | Canned Chicken Recipe
- Roasted Chicken with Sweet Potatoes, Cranberries | Seasonal Autumn Meals
The Cottage Vegetable website is an AI FREE zone! Everything is written and photographed by myself, Chelsea.

The Cottage Vegetable
Gardening & Preserving for a Practical Kitchen


That was a great review! I’m curious—can you pop them in the dishwasher after a rinse, or do they need to be hand-washed every time?
LikeLike
Thank you! I don’t see why you couldn’t try to wash them on the top rack of your dishwasher, but I am not sure if all the stuck-on dirt would come off. I don’t think I would try it myself since I would be so sad if they warped.
LikeLiked by 1 person
I guess they can wrap… Thank you for your answer.
LikeLiked by 1 person