A lot of sweat went into this “use what we have & build from scratch” duck house but it’s finally done!
My main concern was to avoid mold, mildew, difficulty cleaning poop, and avoid it falling apart in 2 summers. (In other words, avoid anything the old one did)
I know duck houses are somewhat of a vague topic, often getting grouped into chicken coops, but they need a different set up.
So here I go over some of the key elements of our new duck house, completely tailored to their needs, in hopes to help guide you to build a great duck house as well (even if that means adjusting your current chicken coop)
In this post I also get into some of the specific supplies we used for the exterior & interior.
Let’s Dive in!
No links are affiliated, I tried my best to find what I actually purchased. Also, my phone put a greenish hue to all my pictures, especially the brown paint. The coloring is a little off and honestly looks better in person. However, I hope this helps you in the end no matter what!
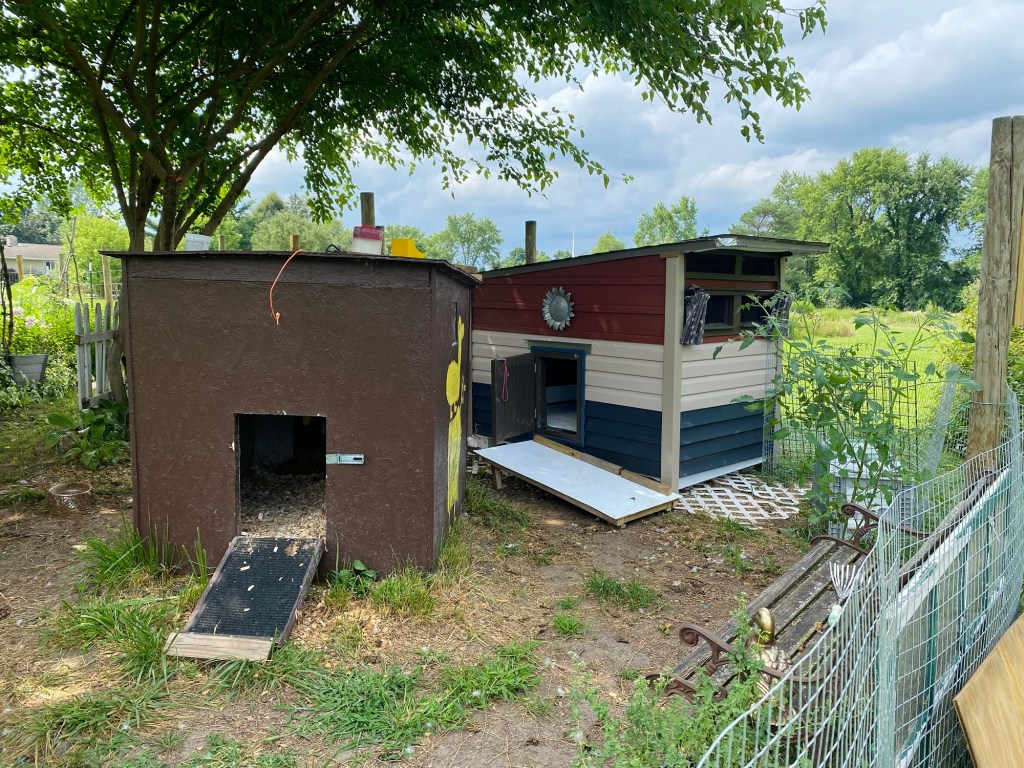
Duck House Exterior
To be honest, in the end all I wanted was an insulated shed that was as waterproof as we could make it.
My chickens live in an all-plastic coop by Omlet, which I love dearly despite the small size, so I first looked and looked online for a pre-built all plastic shed/coop specifically for ducks with no avail.
So, we set our hearts and prepared ourselves to rebuild a new duck house from scratch; all while trying to keep costs low with reusing materials, see what friends and family were willing to part with and simply keeping the plans simple.
Starting with the exterior, here are my Key Elements that are must:
- A proper roof, that is slanted enough for proper drainage
- Waterproof outer layer (as in not bare wood/or painted sides)
- Lockable doors
- A method to cover the windows during storms
- Non-slip ramp
- Elevated base
Slanted or peaked roof with a drip guard or gutter system: Our old duck house was not slanted enough, and plastic yoga type mats were used for the ‘shingles’, which was a huge mistake. Let me tell you this: either make the roof waterproof or put down the tools now and walk away; you’re only ASKING for the duck house to become moldy or mildew-y if you don’t put the effort into the roof. In the new one we did a proper slanted shingled roof with a drip guard, flashing tape, plastic underlayment, etc. Of course, we are DIY-ers so our finishing work isn’t professional grade, but we’ve been through several rainstorms since the beginning of the build, and it is dry as a bone inside. We just did a simple ‘weathered gray’ color to the roof shingles. We used one 4×8′ plywood piece, and one pack of shingles, plus a few more from a family member covered the board. We did need two pieces of the metal drip guard.
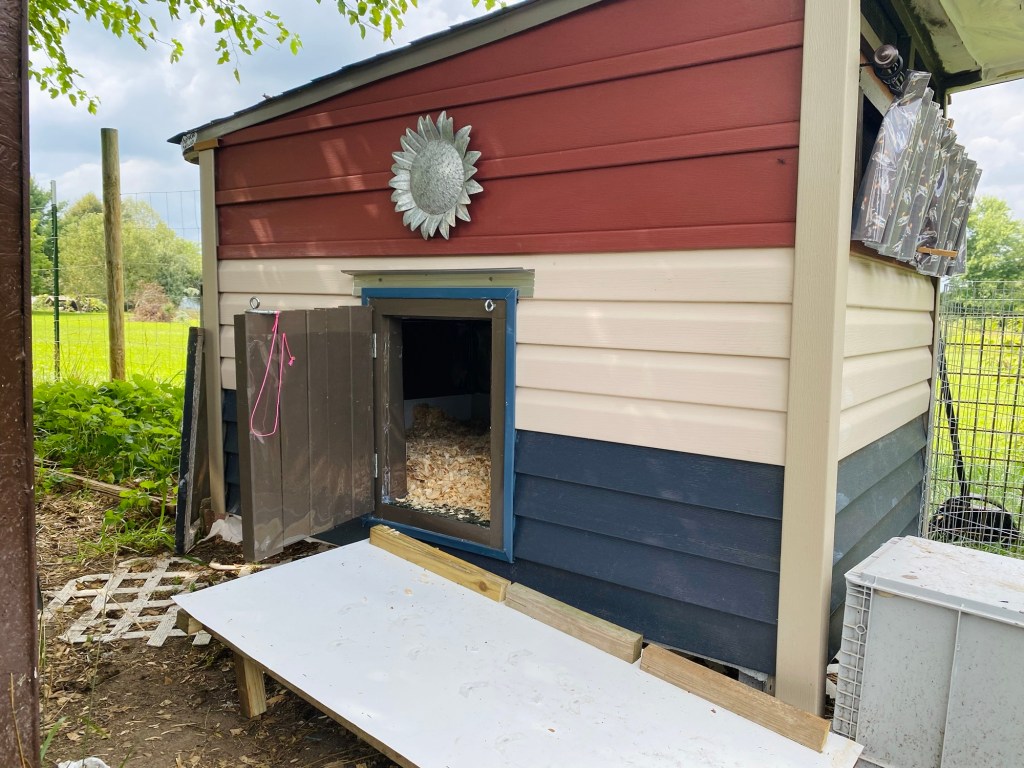
Waterproof outer layer: This was also a must in our new build; in the old one I used outdoor paints, thinking it would actually stand up to the 4 seasons we have in MI, but no. Bare paint might work in some climates but not ours. Thankfully my parents scored a TON of plastic siding in an auction about a year ago. So, I had the privilege to pick and choose what colors I wanted, and this was free of charge, besides the starter strip you use on the bottom. I went with a country style Red-Beige-Blue to give it some character. I mean this sits loud and proud in the back of our property, next to our garden, so I wanted something pleasant and fun to look at for years to come. Hands down, would recommend proper plastic siding, with plastic Tyvek layer underneath, just like if you were building a small house.
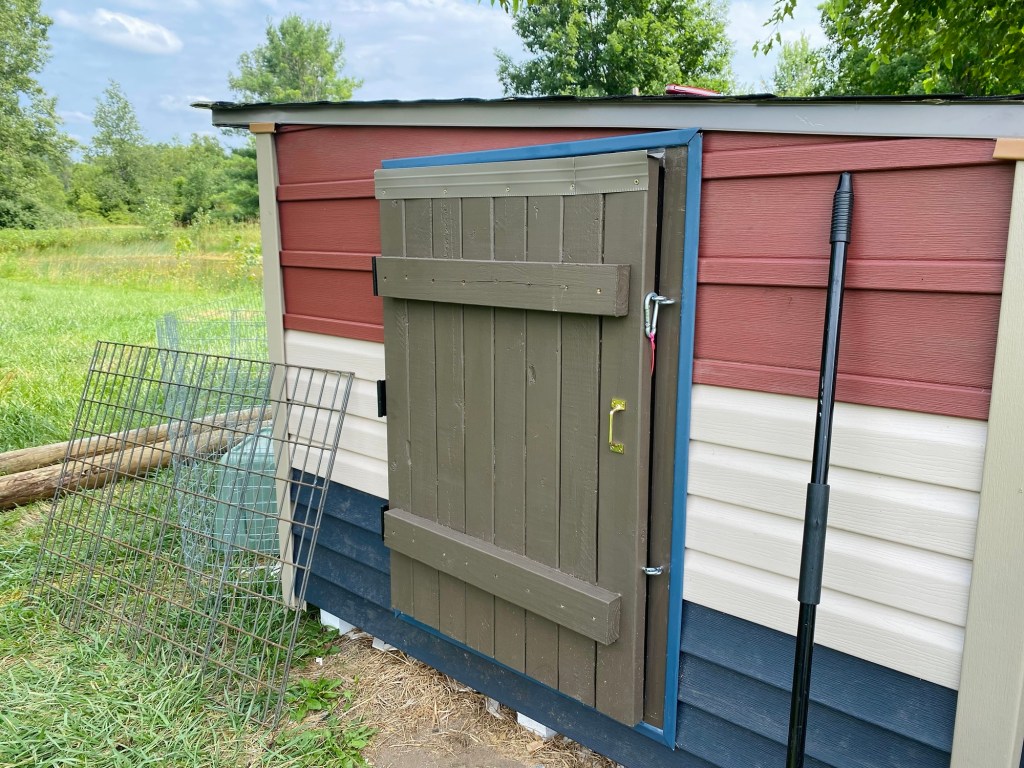
Lockable doors: We have coyotes, snapper turtles, foxes, skunks, and I am sure a few we don’t even know about for major predators to our ducks, so making sure the doors are hard enough to open for those animals were priority. I simply went with 2 keyhole latches and a carabineer clip for the locks. Simple, cheap, effective. The front entrance door has one lock and the back has two. These doors were made from scrap studs we had from previous projects, and that made these doors very heavy! We are hoping the weight of the doors is also a deterrent to animals as well.


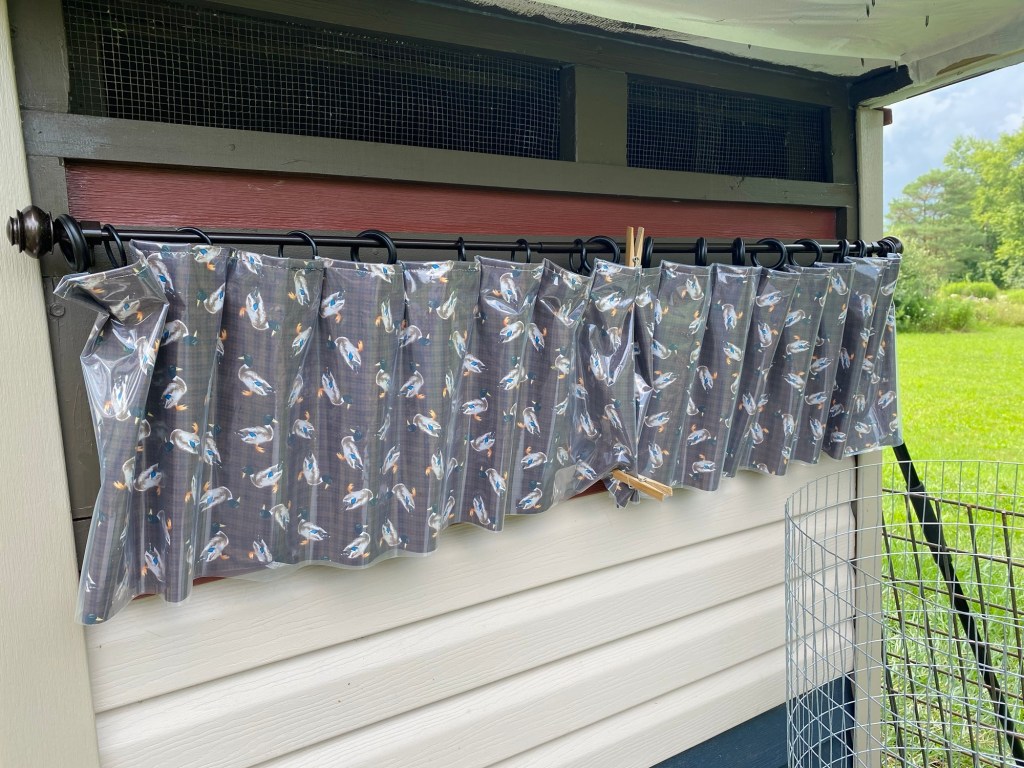
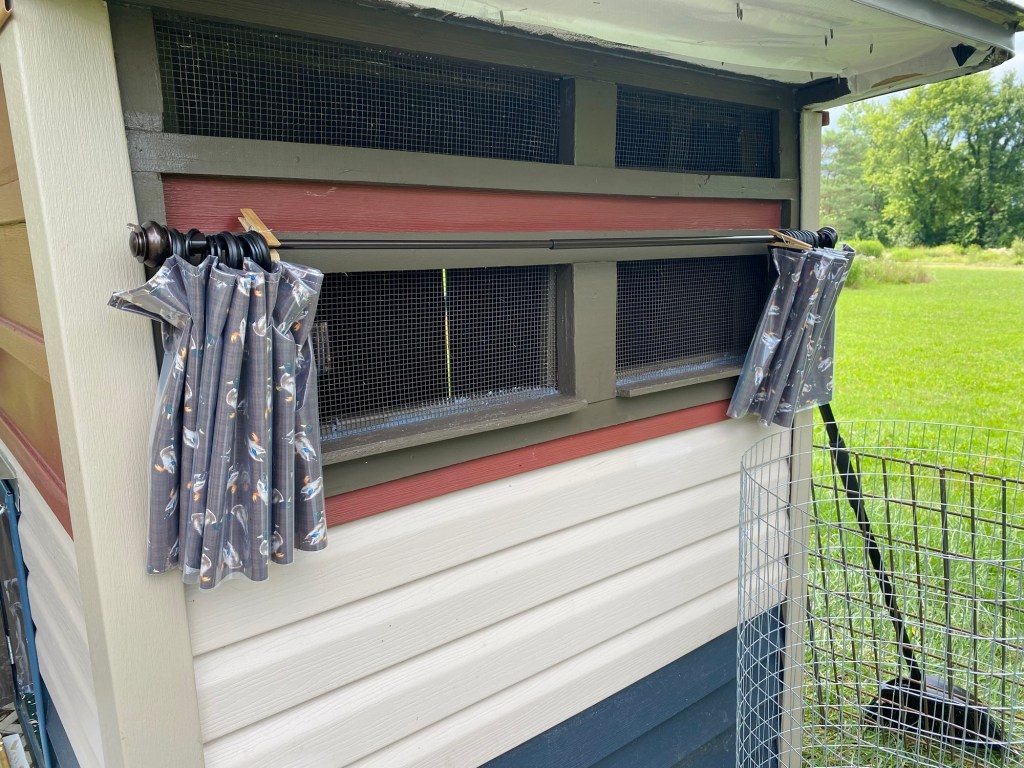
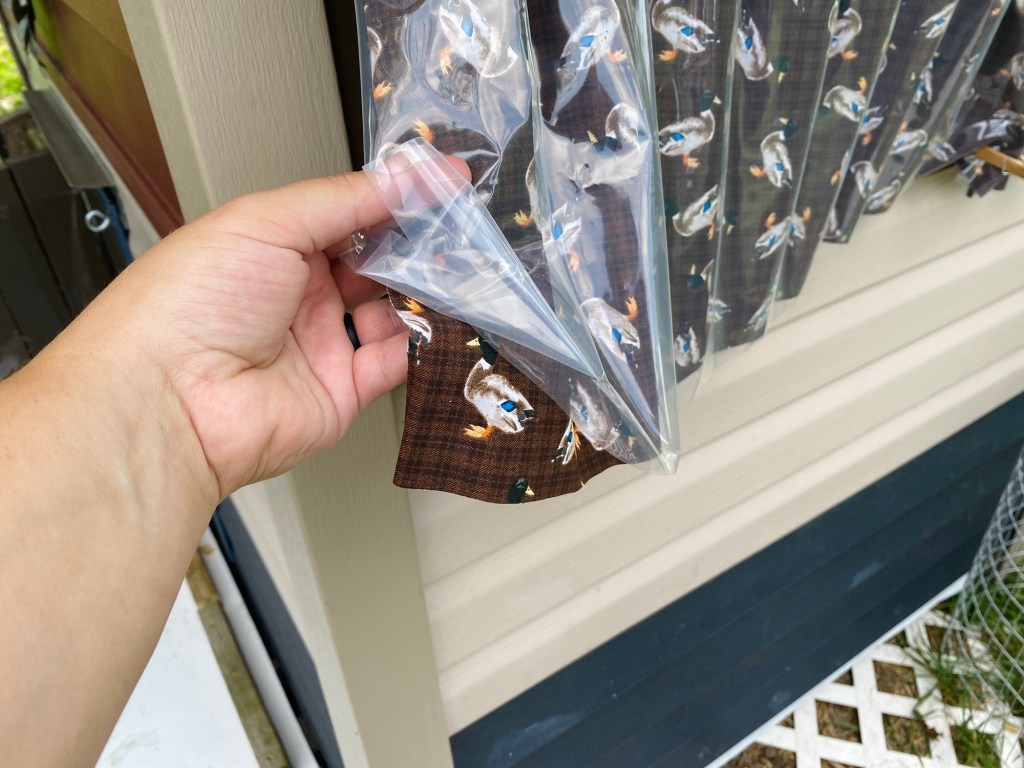
A method to cover the windows in stormy weather: We simply ran out of supplies and willpower to make shutters for the windows. Our windows are simply hardware cloth that are fastened to the framework of the build. The walls and window framing were built around the placement of the hardware cloth. We also put a permanently open vent window at the very top of the tall side; this will never be covered to ensure air is constantly being let out of the coop. For now, I grabbed a rust-free curtain rod, some clips, a shower curtain, and 2 yards of cotton fabric from Walmart. Simply cut and sewn the shower curtain on top of the cotton fabric for some outdoor curtains. It’s does work! Just only sew a top seam so the cotton has breathing room to dry if it gets wet from dew. I will close them when we get rain, heavy snow, or if it’s going to be very cold that night; besides that, they will be open to allow as much air flow in/out as possible.

Nonslip ramp: At the time of writing this, our ramp is still a work in progress. We have very little supplies & budget left of build this, but we thankfully made it work. Just make sure ducks can grip your ramp. We used leftover clear shower grips and used leftover plastic sheeting from the interior to help keep the wood underneath dry. Soon, I will paint or seal the base of the ramp to keep that waterproof as well.
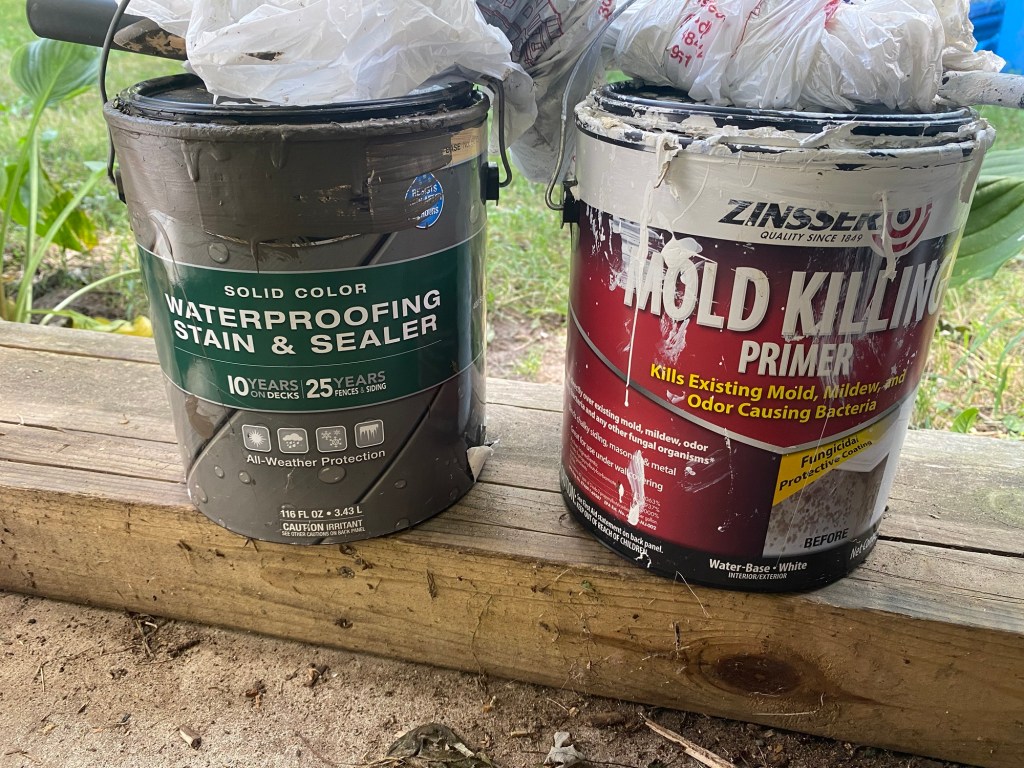
Elevated base: This was the first thing we built; we made the base of the entire thing sit about 6-8 inches off the ground. The entire base got two coats of Mold Killing Paint. We made it 4 feet by 6 feet. We put scrap pieces of plastic lattice pieces (most were broken anyways), to help keep the base off the direct dirt and help keep the grass underneath pressed down. Our old duck house had no ventilation underneath and it rotted so badly there was a HUGE hole in the flooring! So, making sure this was elevated off the ground was another must for us. Now wind can pass through underneath and help keep the bottom of the house dry.

Interior
Alright moving onto the interior! This was the part I wanted plastic in some way, shape, or form in the areas of where the bedding/poop will be.
Key elements for a duck house interior that are a must include:
- Plastic floors and walls
- Floors running flush with the doors
- Nothing sharp exposed & No bare wood exposed (this part includes the paint I used)
- Permanant vent window (one that doesn’t get covered no matter the weather)
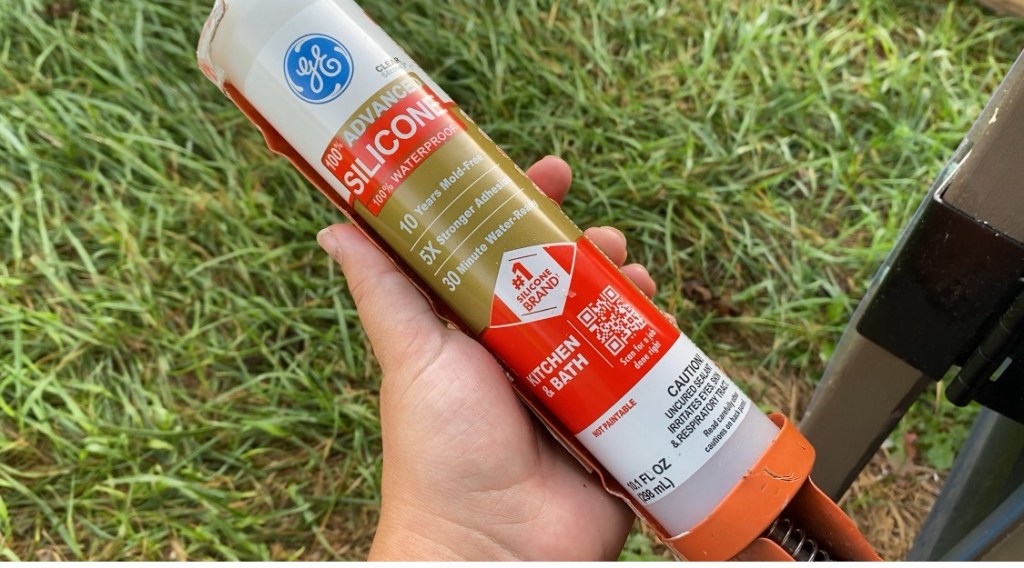
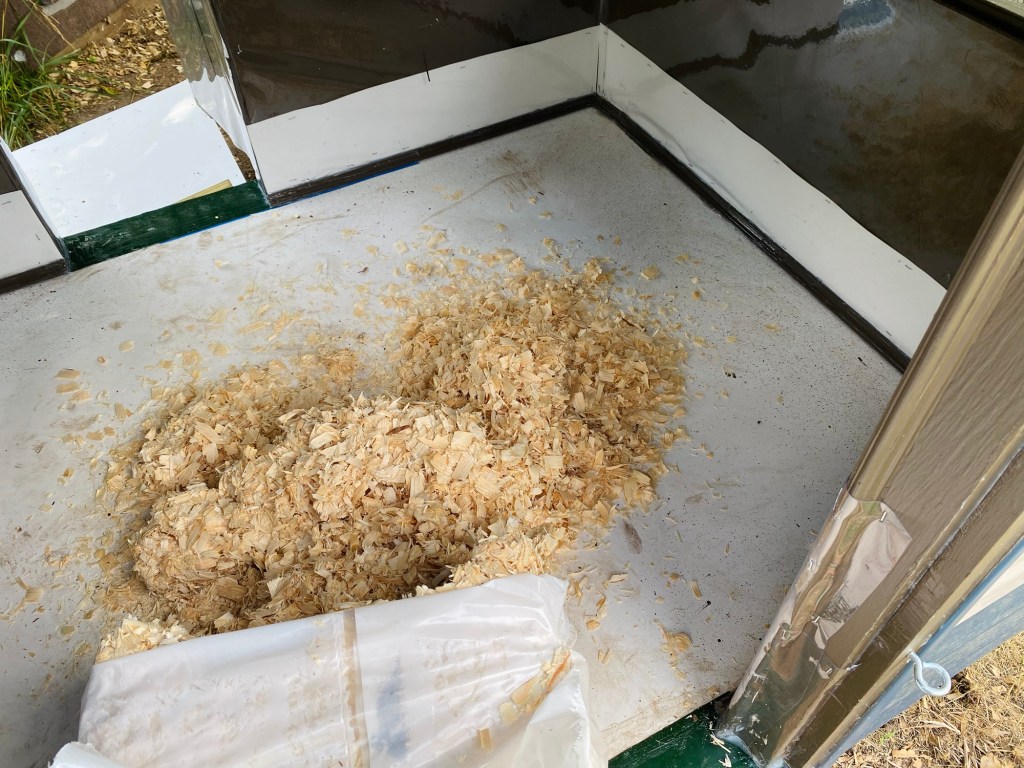
Plastic floors and walls: Ducks poop is not like chicken poop; chickens have solids that they drop, while ducks have semi solids that they spray (sorry for the crude picture but that’s the truth). This is where ducks need a different set up from chickens. After the elevated base was built we put a sheet of this plastic down for the floor from Home Depot; it’s flexible and easy to cut, and fairly easy to glue down to the base. The walls were then built on top of the plastic sheet. We grabbed a second white plastic sheet and cut it to make a hard backsplash that was stapled into the walls. Then we bought a clear plastic sheet (this one here from Walmart) to put over top of the white plastic. The white plastic was put in place to close any gaps in the wood walls and the floor, while the clear plastic was the surface we are willing to clean. The clear plastic reaches 18 inches high which is plenty of room. I then painted spare trim pieces we had in the garage to conceal the seams between the floor and the wall. I then laid a very thick layer of kitchen/bath silicone in clear over top of the bottom trim to further close any gaps and give the wood trim an extra layer of protection against the poop (this silicone is what I used to fill in gaps on the exterior as well).
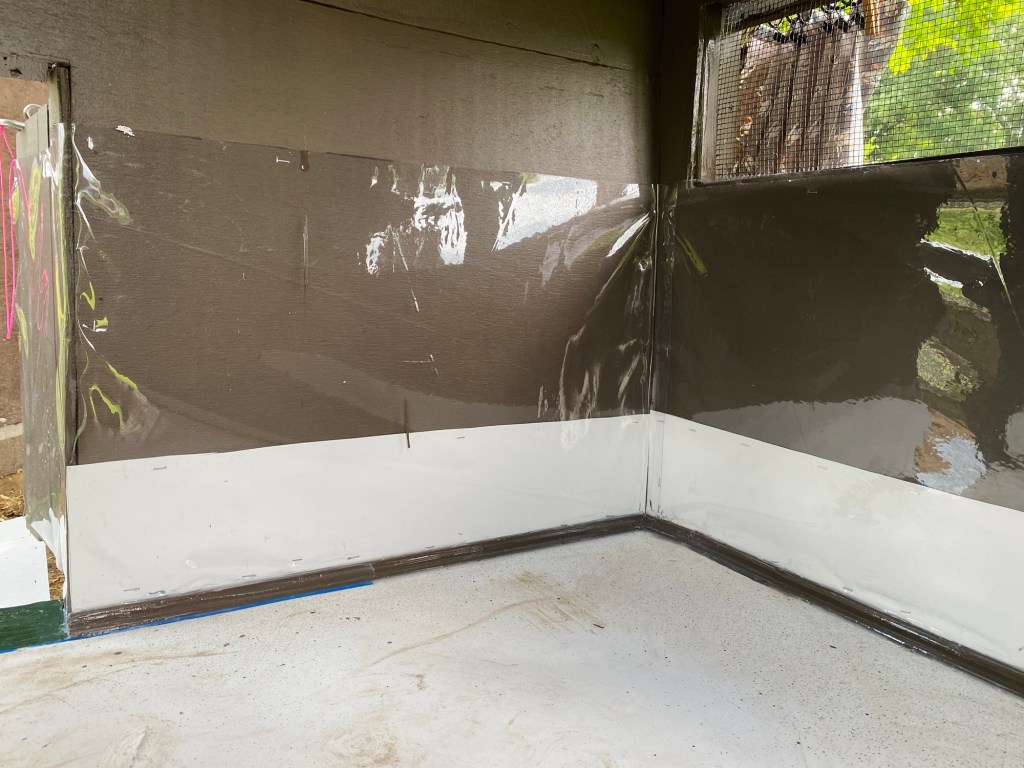
Doors that run flush with the floor: This was also a must in this build. Being able to sweep the bedding out of the back with a small rake or broom was something I really wanted; in the old one we had to scoop over a lip at the bottom of the doors and was never able to fully get the old stuff out. The green strip at the base of the doors is just garden landscaping plastic that I found at Goodwill of all places (this one is very similar to what I found). It was very easy to cut, and I simply glued it down with gorilla glue and put more silicone on the edges. I placed the plastic strip down first then placed the door trims on top of it. Again, a very thick layer of silicone was used, and no I am not a professional, or even care if it looks professional at this point.


Nothing sharp exposed or bare paint: Specifically, I didn’t want bare paint exposed where the ducks will actually poop. The upper parts of the interior are OBVIOUSLY bare paint. The entire interior got two coats of Mold Killing paint and this fantastic Exterior Waterproof paint in Coffee that we found in the “oops” paint section at Home Depot (summer is a great time to grab marked down paint!). I used the brown paint to cover any wood surface both inside and outside. To cover the nails from the siding, the walls got leftover foam insulation we had from other projects and an extra layer of plywood. The ceiling is also plywood to cover the nails from the roofing. Again, not professional level of finish work, but everything is secured, and all the paintable surfaces are covered.
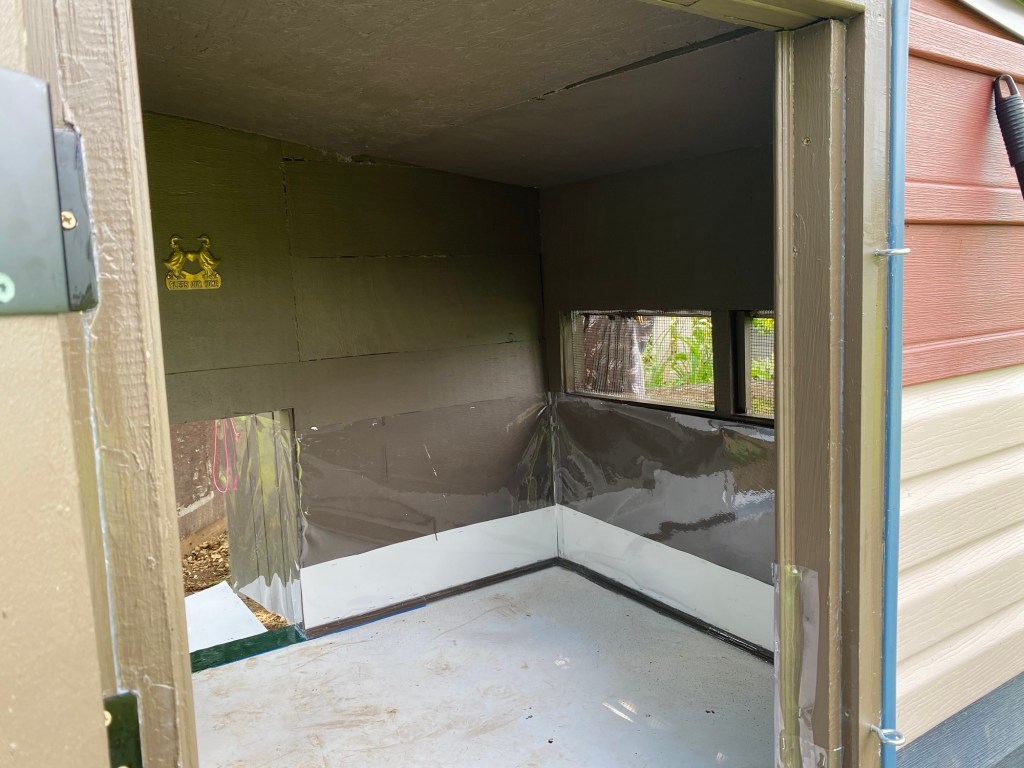

Permanent vent window: This ties into the exterior but a vent window that actually works is a must for farm animals. The best place was the top of the tall side where it stays dry tucked up under the roof overhang. This will ensure air & ammonia are able to escape effectively all year round. Again, this was just hardware cloth, and we built the walls around it like the windows.
What I would never use
Making this topic quick here’s just a few things I’ll never use for a coop build again:
Chipboard (use plywood instead)
Leftover materials for the roof (again just put the effort for a proper roof)
Skipping mold primer and not using waterproofing paint (not all exterior paint is worth the trouble or money)
Having wood for the floors (PLEASE, take my advice on this one and put plastic down)
That’s It & what’s next…
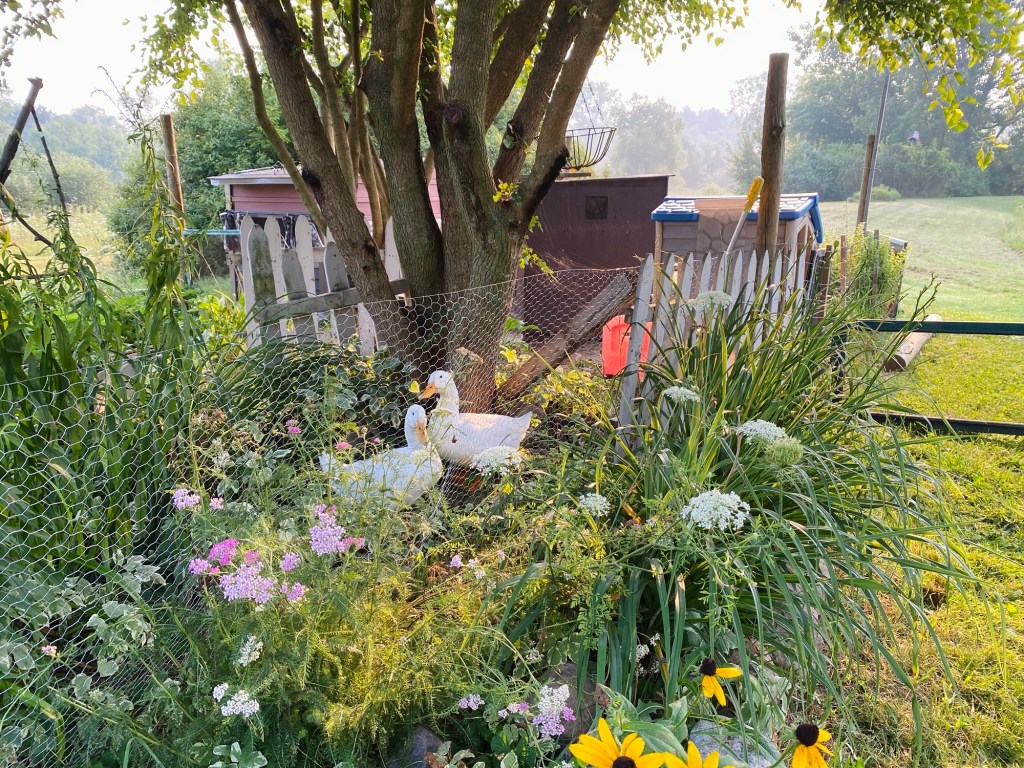
Now we just need to tear down the old one and re-build the fenced run.
With that, I plan to squeeze in a couple of garden beds and plant some shade tolerant plants to help keep the run area looking nice. I mean this is connected to my garden, so it’s got to look like it belongs.
I have to give a huge thanks to my parents for helping me build this out; this was a very hot & humid summer (many days with heat indexes over 100 F) but we were able to pull it off nonetheless (and Lord willing, have it be the last one I build for a very long time).
Again, we never strive to make things look absolutely perfect around here, but we do want sturdy, long lasting results. I truly hope this helps you guys give your beautiful ducks a home they will thrive in.
Any questions please let me know below in the comments. I can answer them the best I can!
Enjoy!
-Chelsea, The Cottage Vegetable
- Seed Starting Set Up | Minimal, Organized, Indoors
- Reputable Canning Resources
- Garden Planning Tips
- Spiced Cranberry Sauce | Water bath canning
- Creamy Chicken & Potato Soup | Canned Chicken Recipe
The Cottage Vegetable website is an AI FREE zone! Everything is written and photographed by myself, Chelsea.